How to Remove Laptop Keys
Last Updated:
Whether you’re replacing or cleaning laptop keys, you can remove them using a pry tool or a flat-head screwdriver. The keys are attached to a key retainer. So, you need to apply a bit of force to remove them.
For this article, I tried removing keys on my HP laptop.
I found that the process of removing the keys is fairly simple and universal on most laptops. However, during the removal process, the key-retainer detached itself, especially when removing the longer keys like the Space or the backspace key.
This was really hard to put back in place as they have a stabilizer metal that you need to attach as well.
With everything I did, here is an explanation of what to do and what to avoid when removing laptop keys.
Removing Small Keys

Letter, number and function keys do not have any metal stabilizers. So, you can easily remove them using a pry tool. If you do not have a pry tool anything thin and flat should do the trick.
I tried using a small kitchen knife and a flat-head screwdriver, both worked great. Unfortunately, since my laptop had an aluminum surface, I scratched a small portion of it.
Make sure that you do not scratch the surface when using the tools. Once you have the tools ready, follow the steps below.
- Insert the pry tool, or anything with a flat surface, in the opening of the key and the laptop surface as shown.
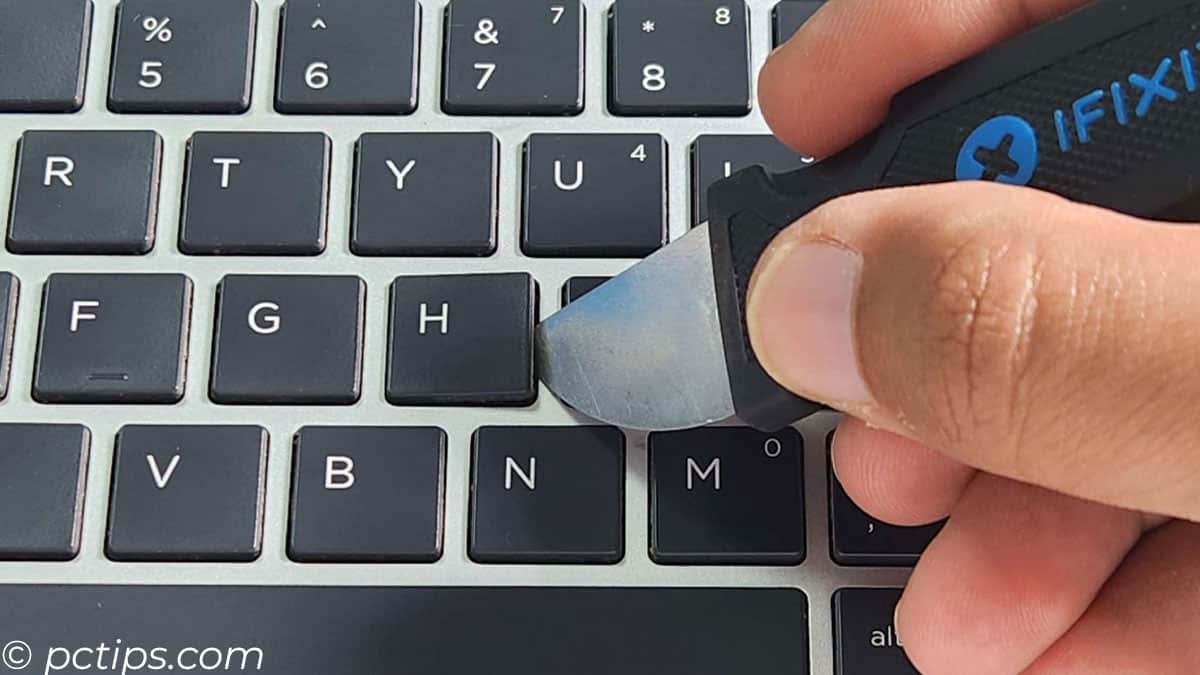
- Turn the pry tool at an angle until you hear a click.
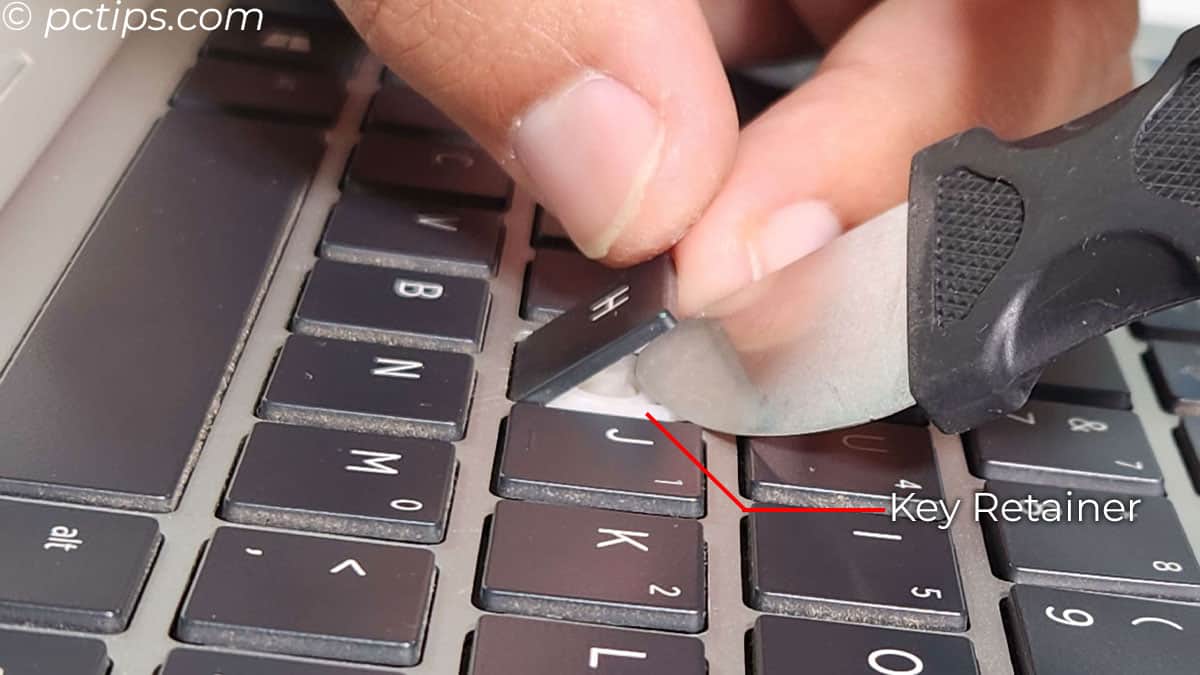
- Repeat this on the other sides of the key.
- If possible, hold the key retainer from the small opening. This should help keep the retainer attached.
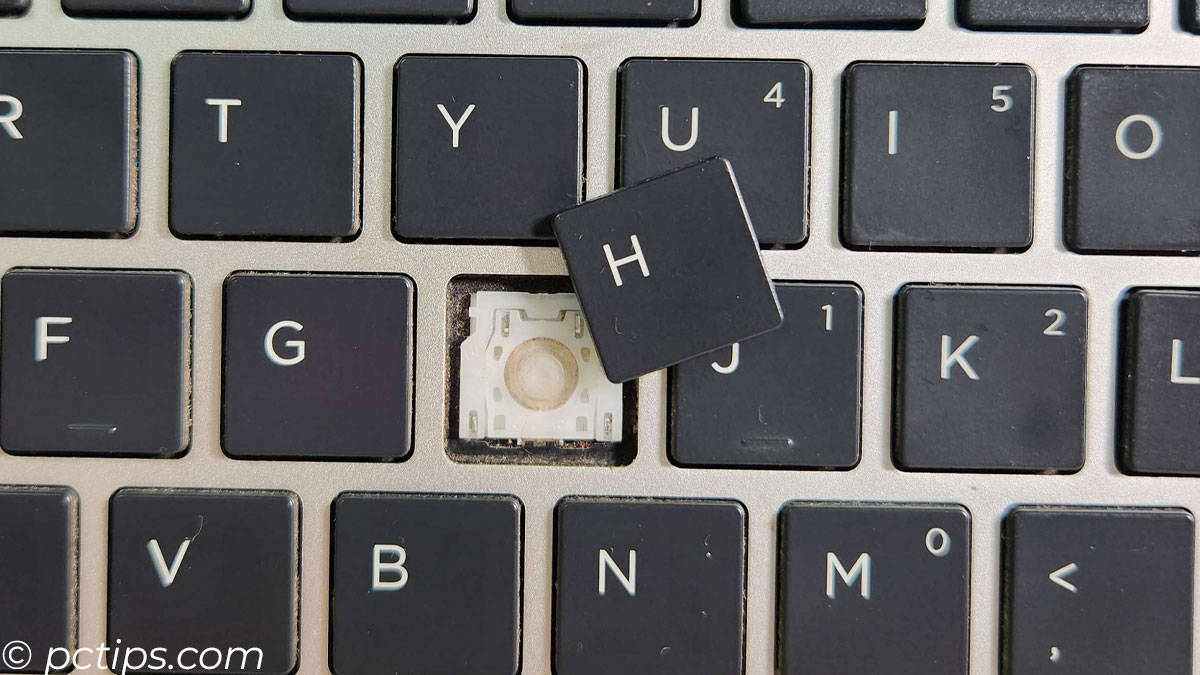
- The laptop key will pop right out.
Removing Wider Keys with Stabilizers
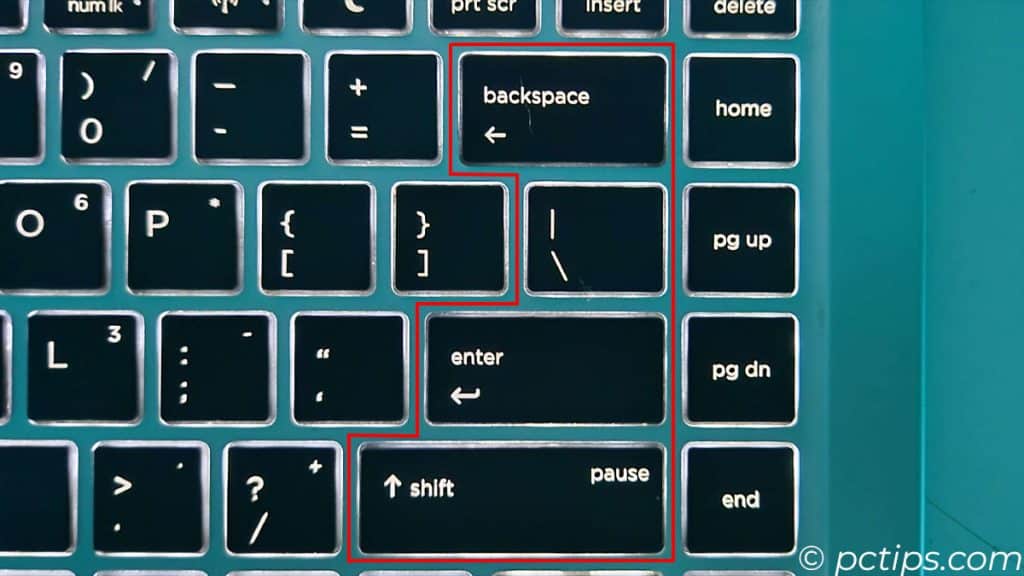
Wide keys like space or the enter keys are quite trickier to remove. Here is a list of keys that could have a stabilizer.
- Space
- Backspace
- Enter/Return
- Shift
- Backslash (may or may not depend on the laptop)
These keys have multiple attach points connecting to the stabilizers and the retainer. Removing the wrong one or failing to remove one could even break it. So, make sure that you do not use force when removing these keys.
- Take the pry tool and insert it between the gap in the key near the shorter side.
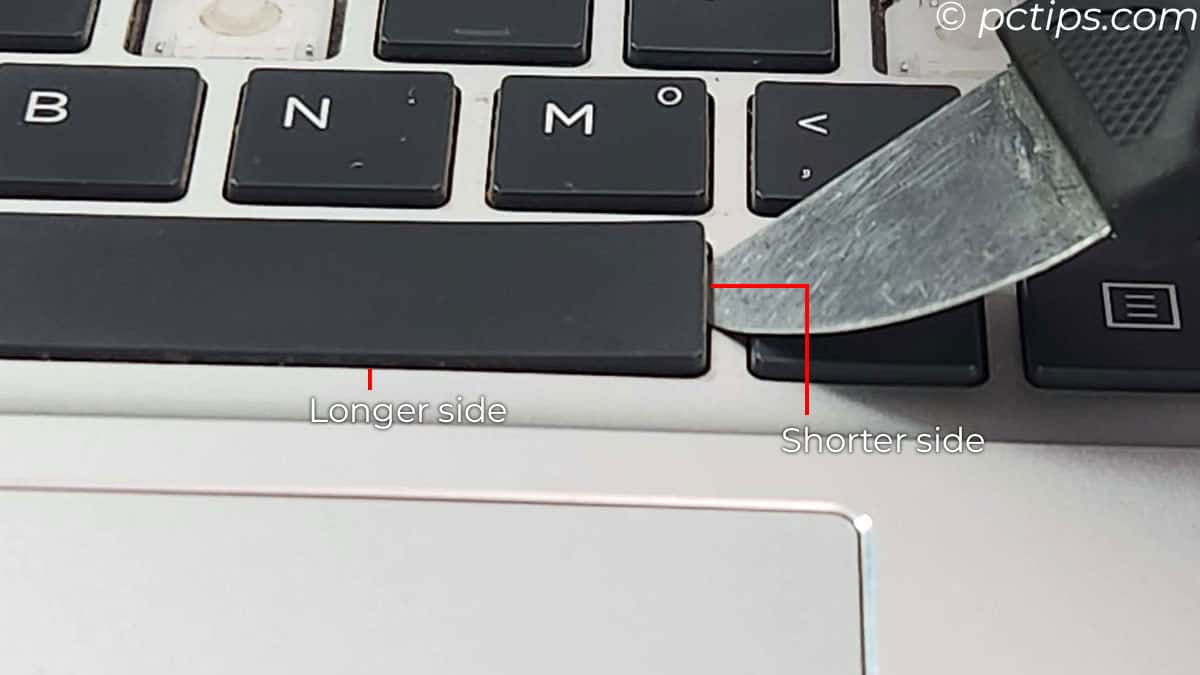
- Turn the tool. You will hear a click.
- Now, go the the keys corresponding side and do the same. This is the longer side.
- You should see a thin metal stick attached to the laptop surface or under the key itself. This is the stabilizer.
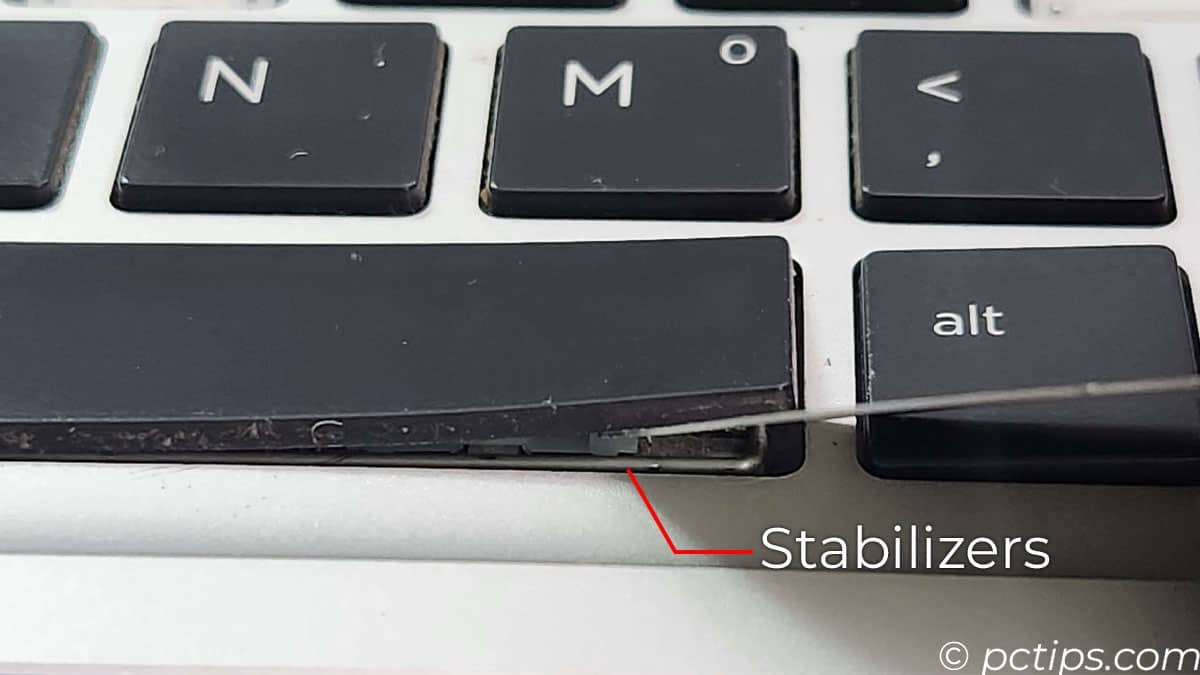
- Use the pry tool to detach it from the key. You will hear it unsnap one more time.
- Do this on stabilizer on both sides.
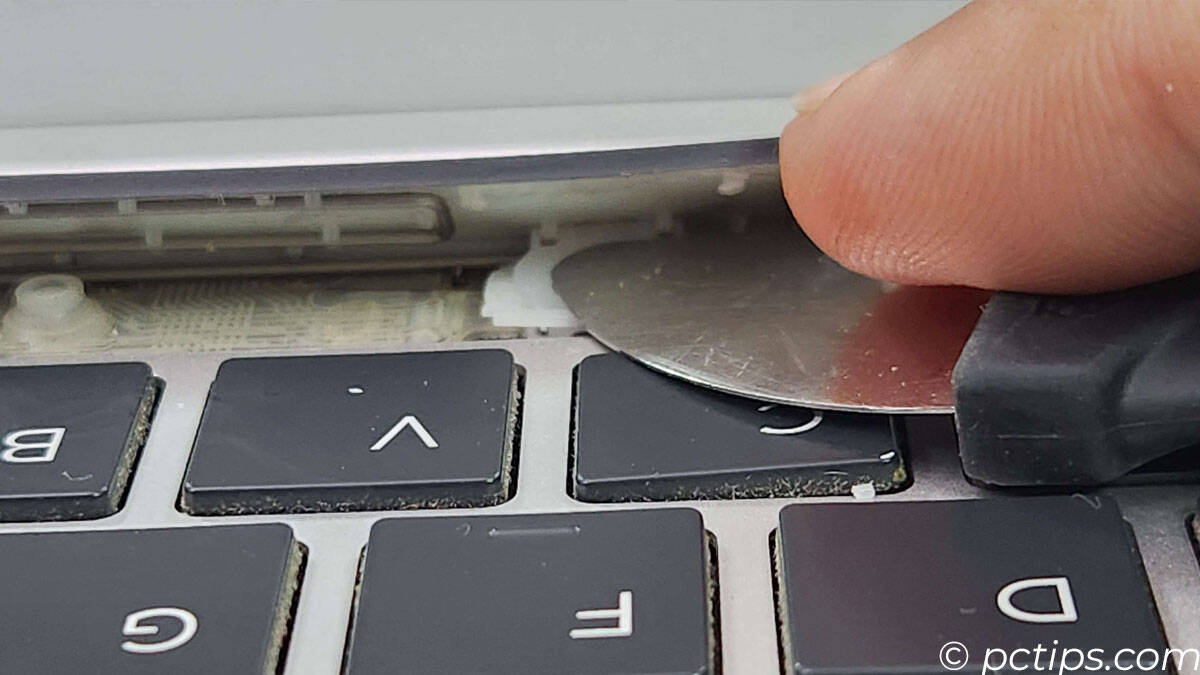
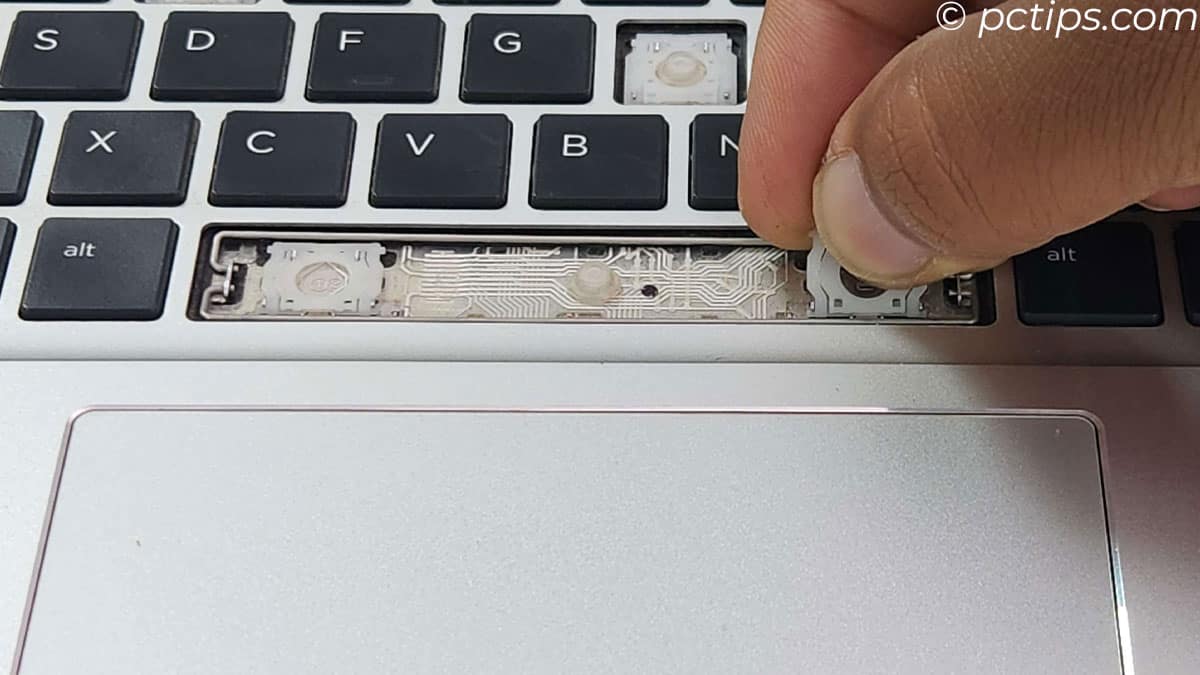
- Finally, gently wiggle and take the key out of the laptop. While doing this, make sure you hold both the key retainers as shown in the picture.
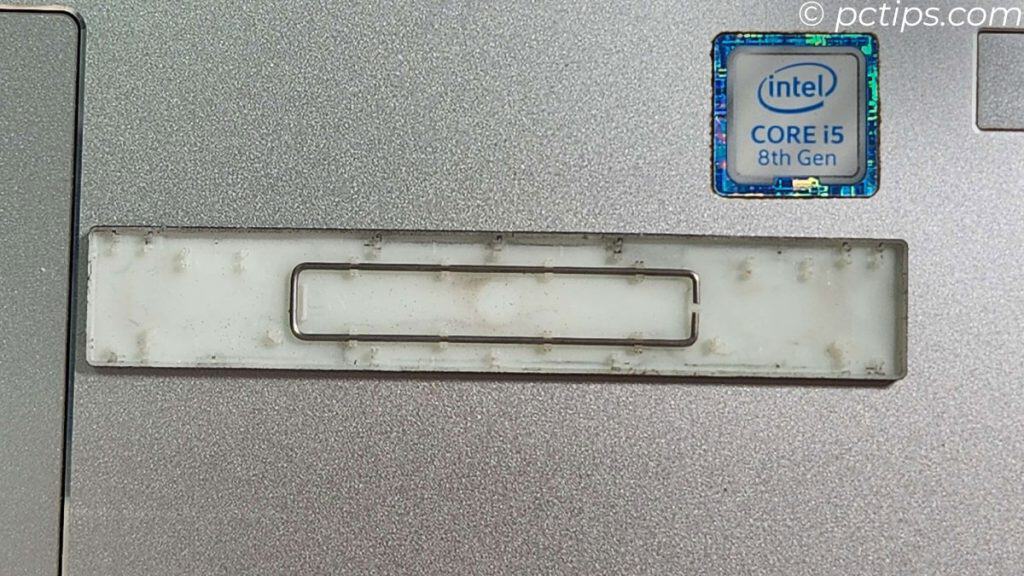
Once removed, you should notice that the wider keys have two retainers. If you are careful, these retainers should stay in their place, which should look something like this.
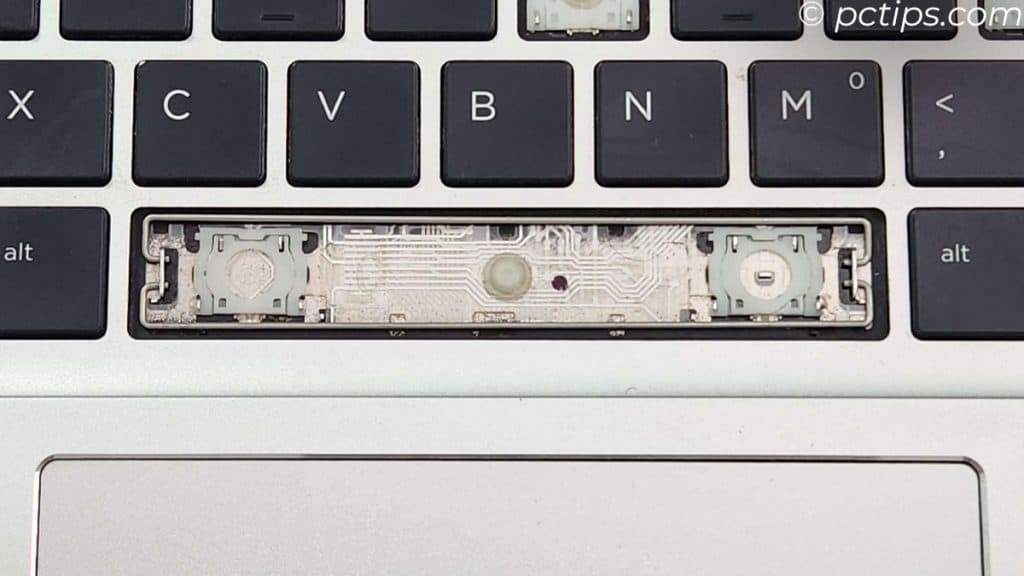
In total there should be three retainers. Two are in the key socket and the third one is under the key that you just removed. If it gets detached accidentally, you need to attach it. Here is what it will look like.
But, if you are like me, you might have accidentally detached the retainer from its previous position. If so, you need to insert it back before you place the key.
Here is how to do it.
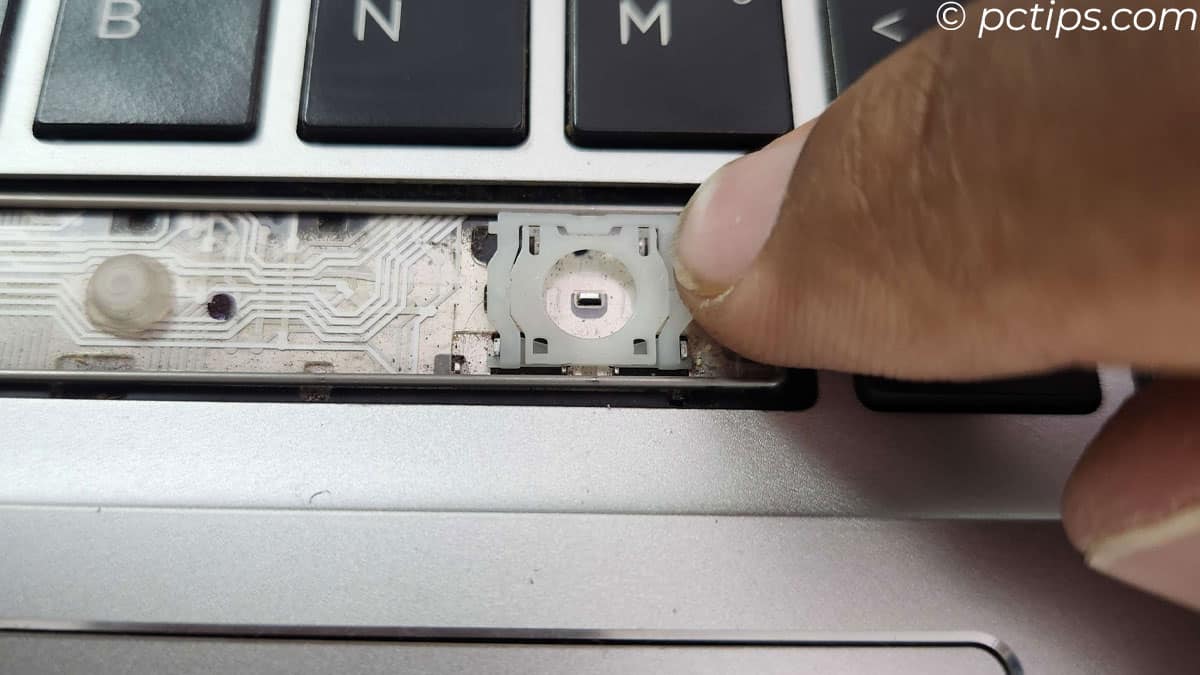
- Check how the retainer on the other keys is placed. You should see four connection points.
- Align and connect the lower two points to the socket.
- The remaining two will fall in its place.
- Press the retainer from the top until you hear two clicks.
The retainer is made of two parts. There is also a chance that the two detach. If so, you need to connect them using visual aid from the other retainer on the keyboard.
Only then you can insert the retainer using the step above. And once you do this, you can re-insert the key.