Create Your Own Portable Windows 11
Last Updated:
Ever wished you could carry your entire Windows setup in your pocket?
Today, I’ll walk you through creating your very own portable Windows 11 on a USB stick that boots on almost any computer.
Plug it into any computer— at a friend’s house, library, or work, and VIOLA— all your programs, settings, and files are right there.
It’s YOUR PC in your pocket, all your stuff, just how you like it.
It’s not a perfect solution for every situation, but it’s incredibly useful for countless scenarios where you need your setup on the go.
What You’ll Need
Let’s gather all the tools we’ll need before we dig in:
- A USB stick with at least 64GB of storage (bigger is better, and faster is… well, faster)
- A working Windows PC to set everything up
- About an hour of your time
Quick Tip: While 64GB is the absolute minimum, I’d strongly suggest going for 128GB or larger.
Windows 11 is a hefty operating system, and you’ll want room for your files and programs.
Why Create a Portable Windows 11?
Before we jump into the how, let’s talk about the why:
- Privacy concerns? Use your own secure Windows environment on public PC.
- Tech support for family? Bring your troubleshooting tools anywhere
- Work from anywhere? Access your work environment on any computer
- Testing and development? Boot into a clean Windows environment without affecting the host PC
I use mine to work anywhere without carrying a laptop.
It keeps my work secure, ensures a consistent experience, and lets me stay productive whether I’m at a client’s office or traveling.
Ready to create your own portable Windows? Let’s dive right in and make it happen!
Step 1: Download Windows 11 ISO
First things first — we need the Windows 11 installation files:
- Open your web browser and head to Microsoft’s official website
- Scroll down until you find the “Download Windows 11 Disk Image (ISO)” section
- Select “Windows 11 (multi-edition ISO)” from the dropdown menu
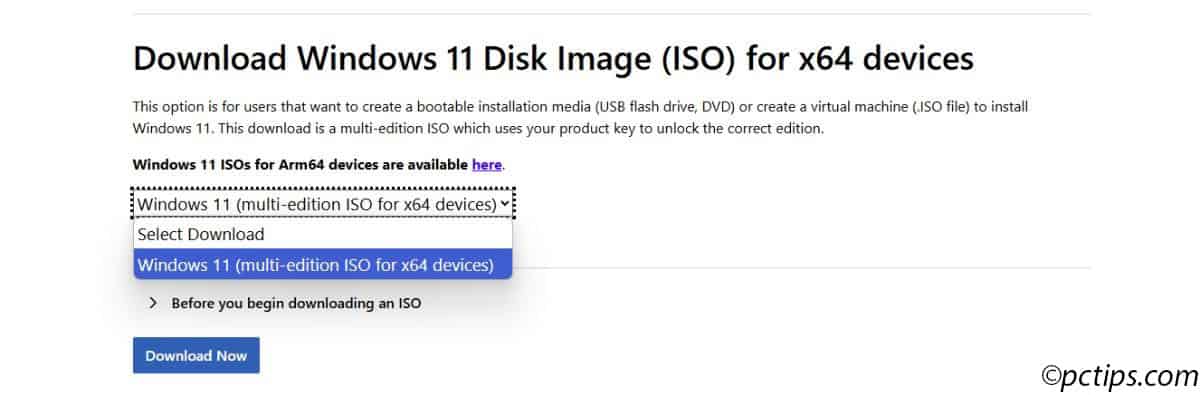
- Click “Download Now”
- Choose your language when prompted
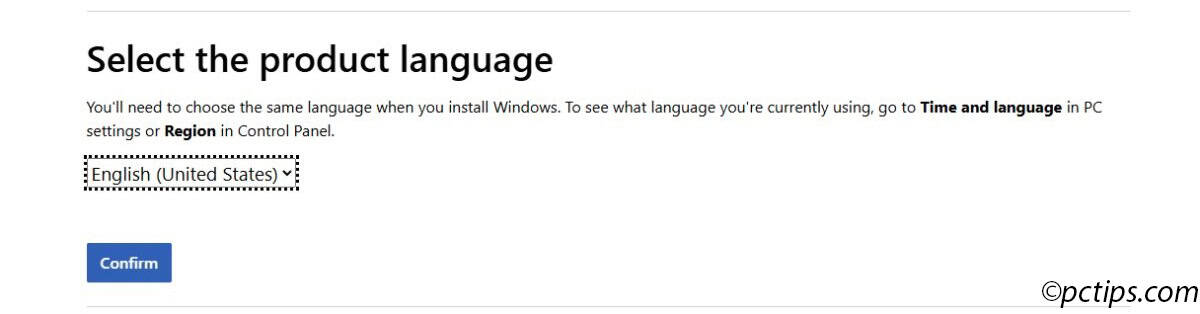
- Select the 64-bit version
- Wait for the download to complete (it’s about 5GB, so maybe grab a coffee)
Remember: Always download Windows directly from Microsoft.
Third-party sites might include malware or altered versions that could compromise your security.
While that’s downloading, let’s move on to our next tool.
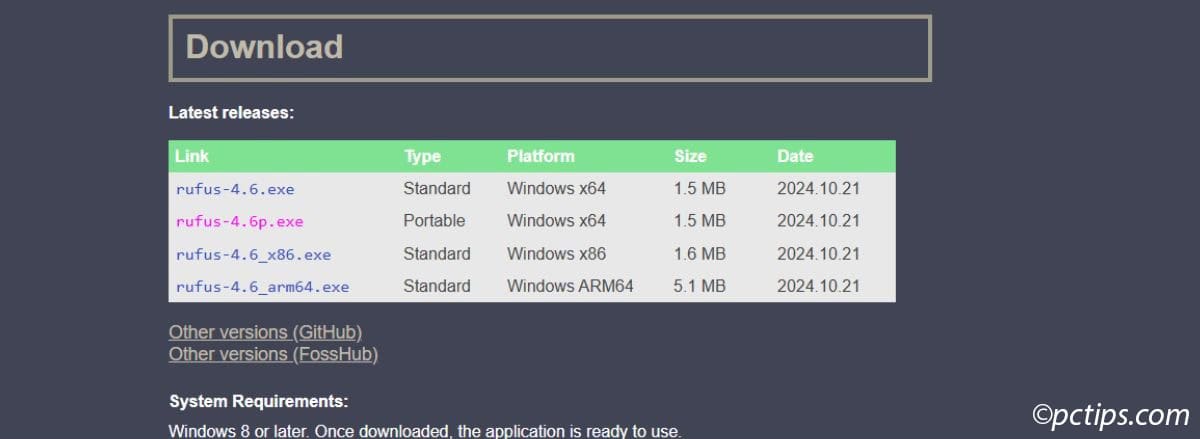
Step 2: Download and Set Up Rufus
Rufus is the handy little utility that will transform our ordinary USB drive into a bootable Windows 11 machine:
- Visit the Rufus website (just search “Rufus download”)
- Download the portable version
- Plug in your USB drive (WARNING: it will be completely erased, so back up any important files)
- Launch Rufus (it’s just a small .exe file, no installation needed)
Quick Tip: If you’re not sure which version of Rufus to download, the latest portable version is usually your best bet.
As of writing this, that’s 4.6p.
By now, your Windows 11 ISO should be finishing its download.
Perfect timing!
Step 3: Create Your Windows To Go Drive
Now comes the fun part — actually creating our portable Windows:
- In Rufus, click the “SELECT” button and browse to your downloaded Windows 11 ISO
- Under “Image option,” look for “Windows To Go” and select it
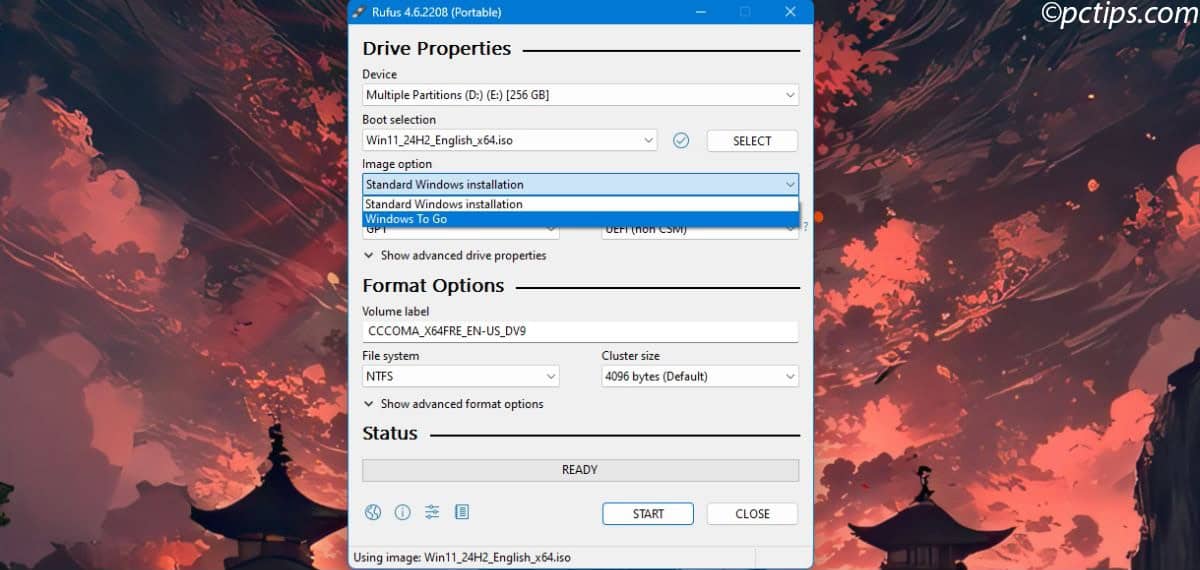
- Make sure your USB drive is selected in the “Device” dropdown
- Leave the other settings at their defaults unless you know exactly what you’re doing
- Click “START” to begin the process
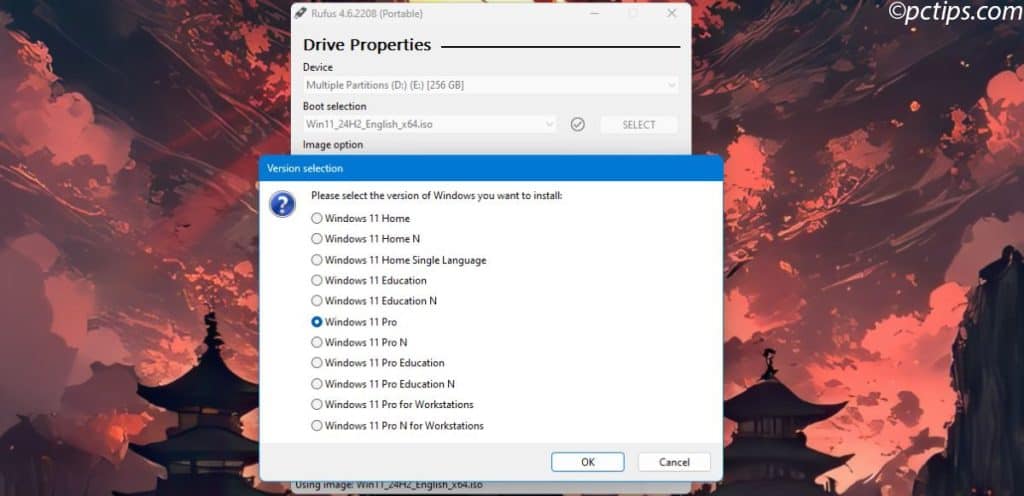
A window will pop up asking you to select which Windows edition you want.
For most people, Windows 11 Pro is the best choice since it offers more flexibility.
Another prompt will appear with some options:
- Check “Remove requirement for an online Microsoft Account”
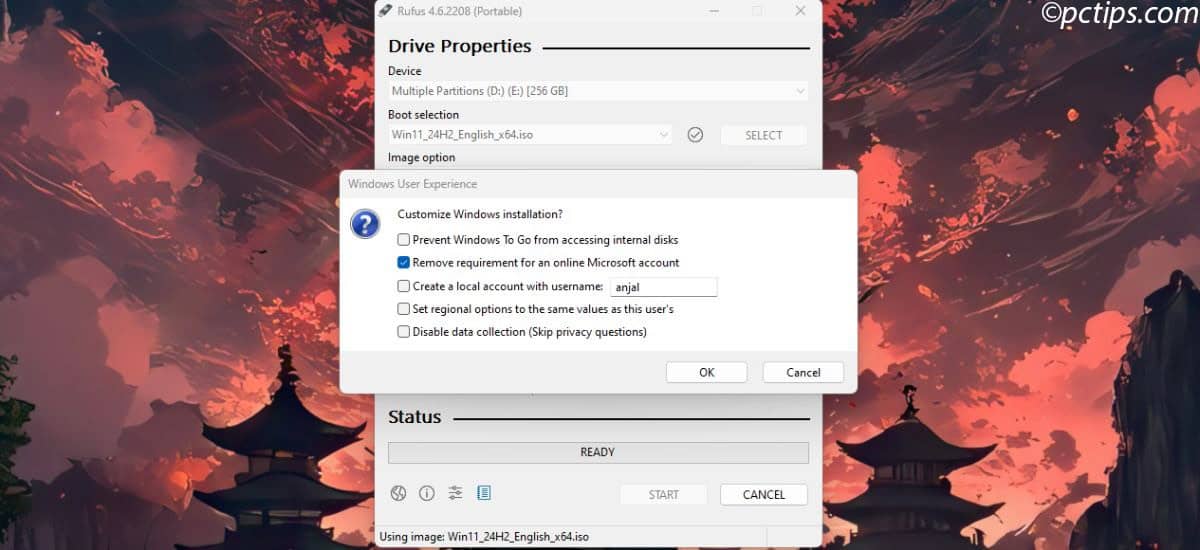
These tweaks allow your portable Windows to boot on a wider range of computers and let you set up without internet access.
Now sit back and wait.
Rufus will format your drive and copy all the necessary files.
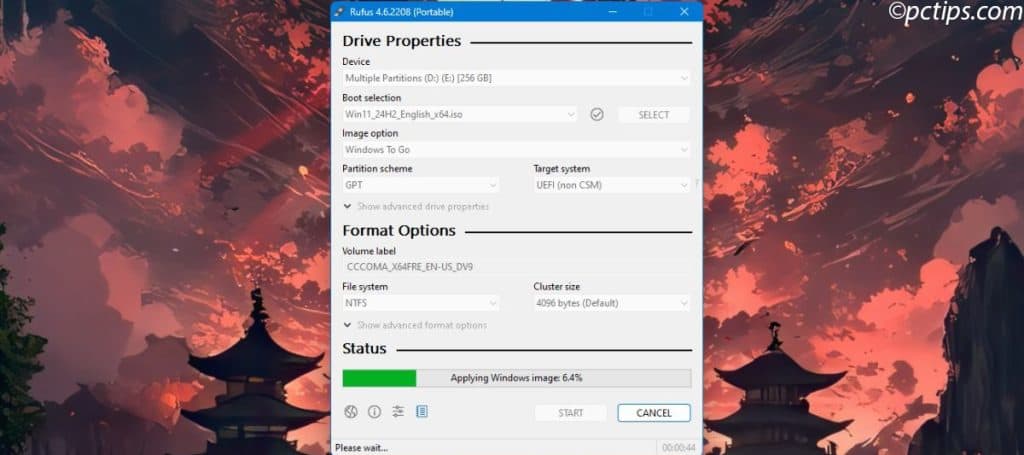
This might take anywhere from 20 minutes to an hour depending on your USB drive speed.
Note: The process isn’t lightning fast, especially with slower USB drives. Don’t rush it!
Step 4: First Boot and Setup
Once Rufus finishes the installation process, it’s time to test our creation:
- Leave your USB drive plugged in
- Restart your computer
- As your computer restarts, look for a message about pressing a key to access the boot menu (often F12, F2, F10, or ESC — it varies by manufacturer)
- Press that key repeatedly until the boot menu appears
- Select your USB drive from the list
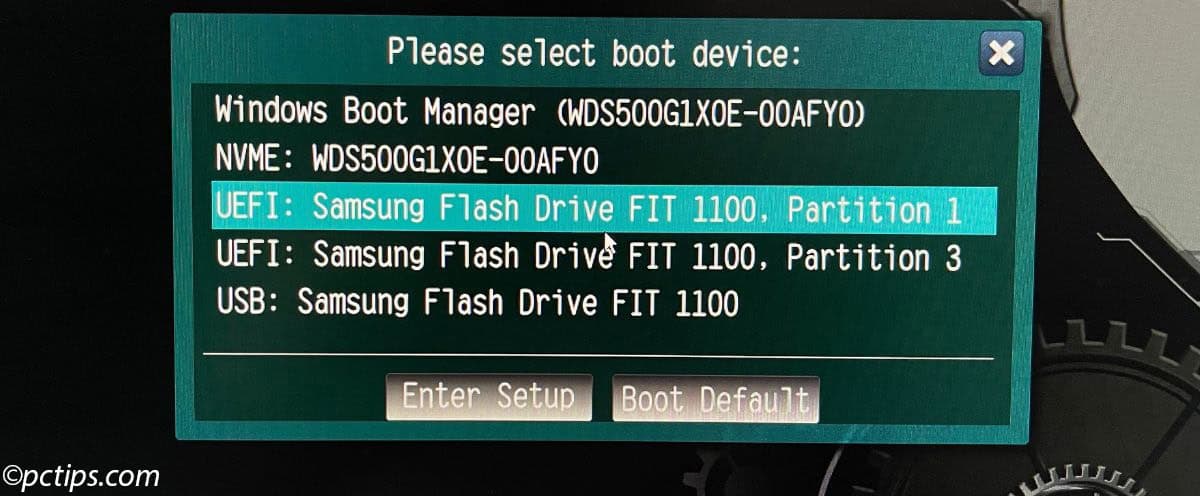
Your computer will now boot from the USB drive instead of its internal hard drive.
Windows 11 setup will begin, and your PC might restart several times.
This is normal! Don’t panic.
During the setup process:
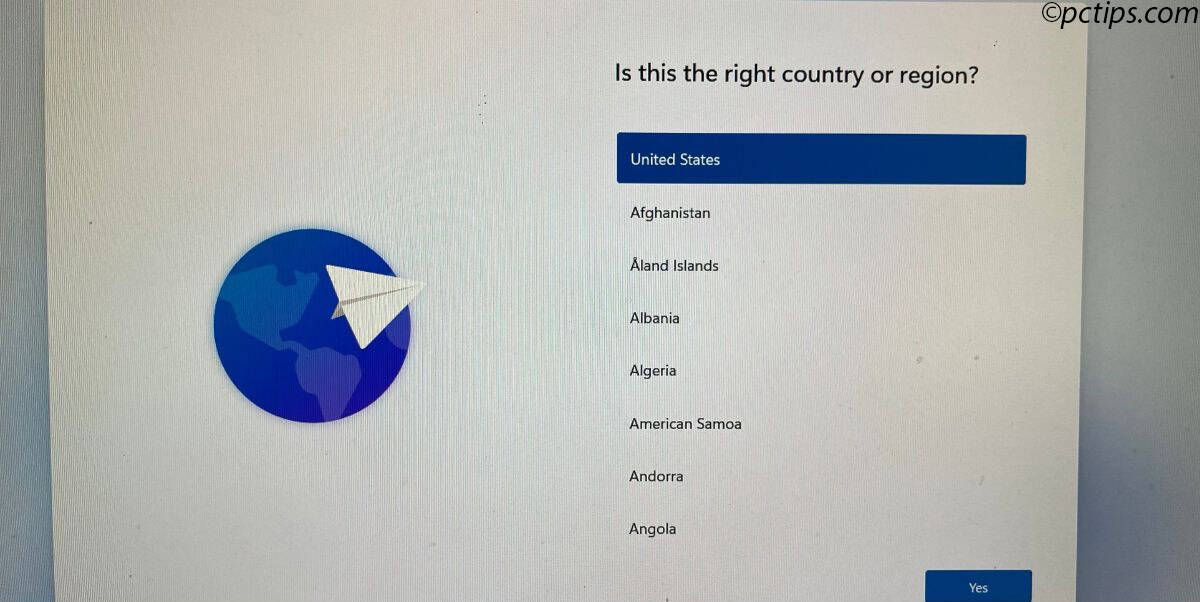
- Select your region when prompted
- Choose your keyboard layout

- Windows will check for updates (if you’re connected to the internet)
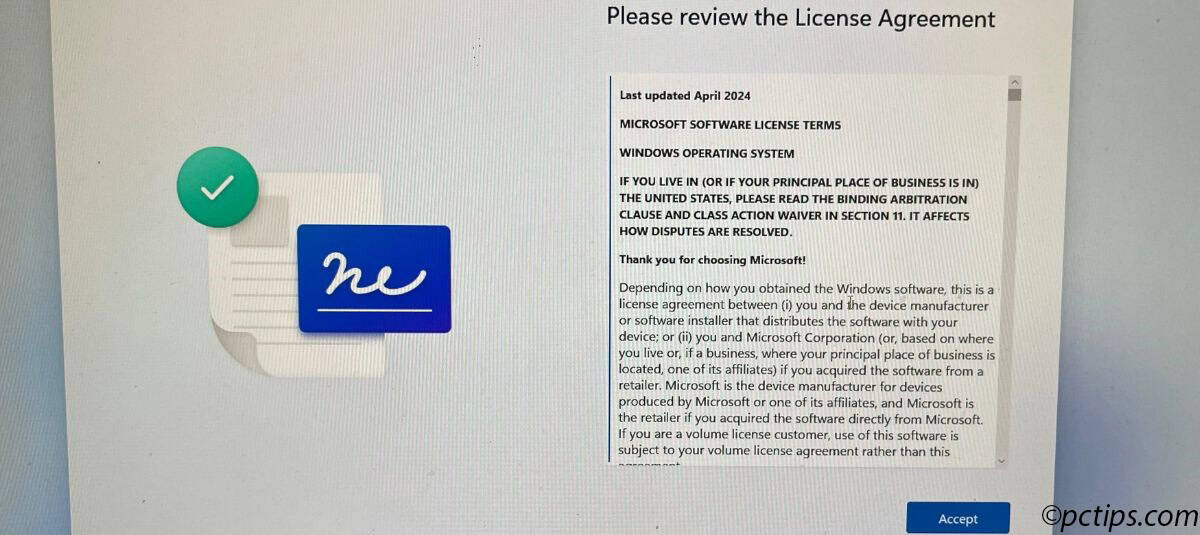
- Accept the license agreement (after reading it thoroughly, of course… right?)
- When asked, name your device something meaningful like “Portable-Win11”
- Select “Set up for personal use” to keep things simple
- Create a local account when prompted (remember, we disabled the Microsoft Account requirement)
- Create a secure password — this is IMPORTANT since your portable Windows could potentially be lost or stolen
The setup will continue, your PC will restart a final time, and then…
You now have a fully functional Windows 11 system running directly from your USB stick!
Step 5: Optimize Your Portable Windows 11
Here’s where the real tips come in.
Out of the box, your portable Windows 11 will be functional but likely slower than you’re used to—that’s the trade off for portability.
Let’s fix that:
Uninstall the Bloat
Windows 11 comes with a bunch of pre-installed apps you probably don’t need on a portable system:
Getting rid of this bloat will speed up your system and free up precious storage space:
- Go to Settings > Apps > Installed apps
- Sort by size (largest first)
- Uninstall anything you don’t need: games, Microsoft Teams, OneDrive, etc.
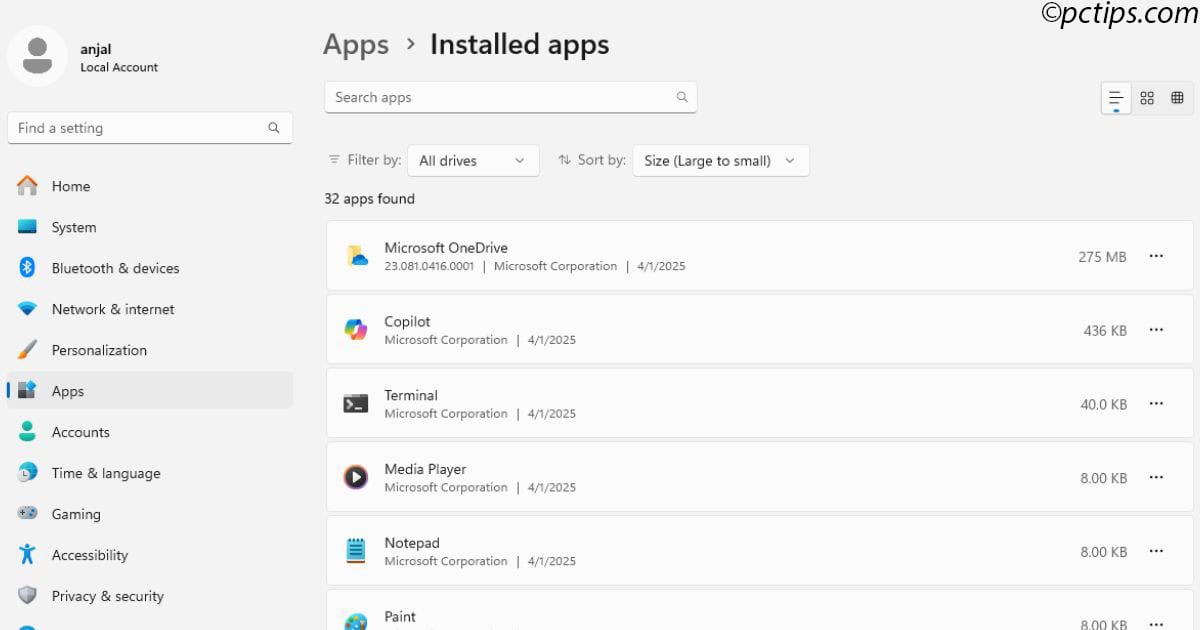
I managed to free up a lot of space just by removing unnecessary apps. That’s valuable space on your limited USB drive!
Disable Startup Apps
Fewer apps starting up = faster boot times:
- Right-click the Start button and select “Task Manager”
- Click the “Startup” tab
- Disable everything that isn’t essential
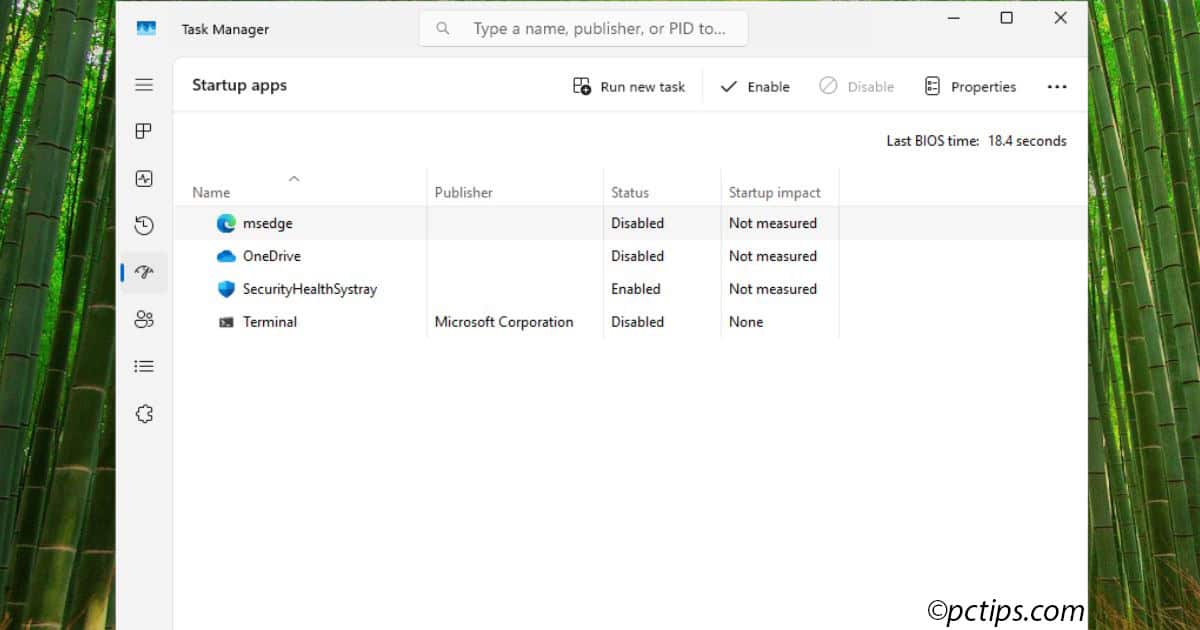
I leave only Windows Security enabled — everything else can start when I need it.
Performance Tweaks
Let’s adjust Windows for maximum speed:
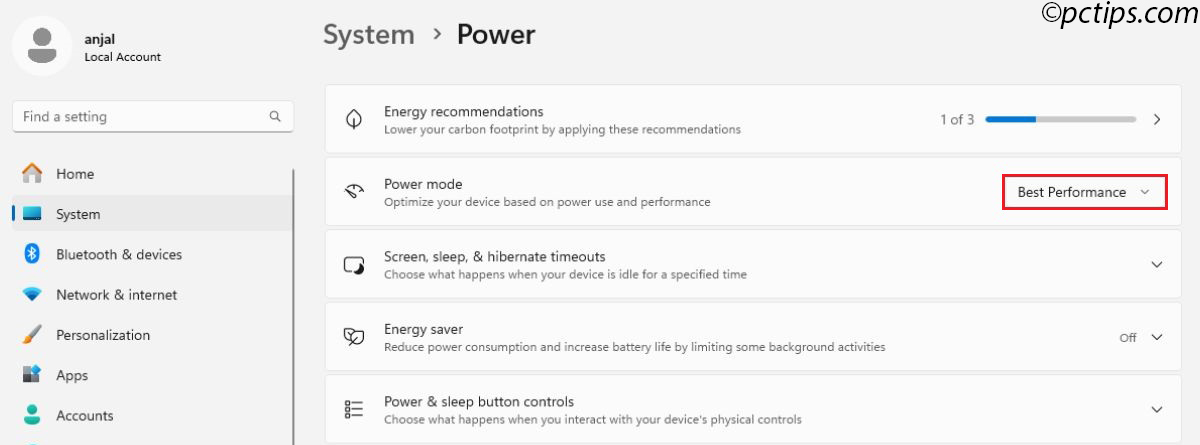
- Go to Settings > System > Power
- Set Power mode to “Best performance”
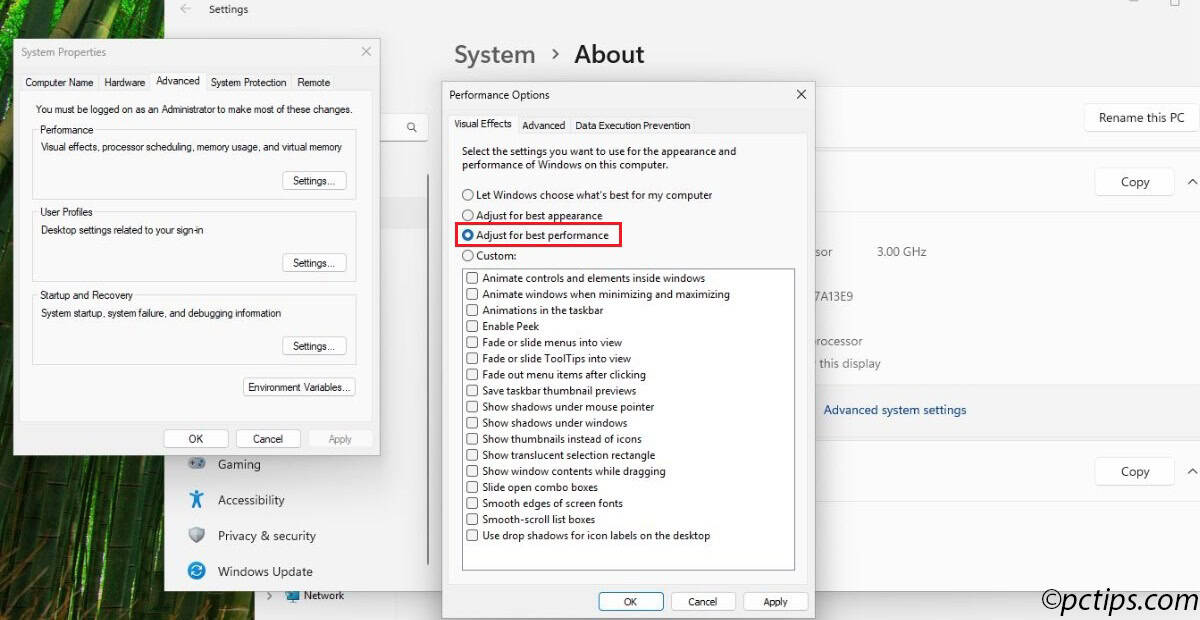
- Right-click This PC on your desktop, select Properties, then Advanced System Settings
- Under Performance, click Settings
- Select “Adjust for best performance” or manually disable flashy effects
My Experience: After applying these tweaks, my portable Windows 11 boots about 40% faster.
It’s still not as snappy as a native installation, but the difference is night and day.
Install Essential Portable Apps
Since space is limited, consider using portable versions of applications where possible:
- Portable browsers like Firefox Portable
- LibreOffice Portable for office documents
- VLC Portable for media playback
- 7-Zip for file compression
The beauty of portable apps is they don’t need to be installed — just download and run them.
No registry entries, no system files, just pure functionality.
Real-World Use Cases
After using portable Windows 11 for several weeks, I’ve found these scenarios where it really shines:
For Students:
- Use your own Windows environment in school computer labs
- Keep all your study materials and specialized software with you
- Avoid restrictions on school computers (where allowed by policies)
For Professionals:
- Access your work environment from home computers without installing anything
- Carry specialized software that your temporary workstation might not have
- Ensure a consistent environment when moving between offices
For Travelers:
- Use hotel business center computers without security concerns
- Access your files and programs from internet cafes
- Have a backup operating system if your laptop fails
Limitations and Considerations
Before you rely completely on your portable Windows 11, there are some important things to know:
Hardware Compatibility
Not every computer will work with your portable Windows:
- Very old computers (pre-2012) might not support booting from USB 3.0
- Some computers have secure boot policies that prevent booting from external media
- Some school or work computers have BIOS passwords that prevent changing boot options
Performance Expectations
Even with the fastest USB drive:
- Boot time will be longer than an internal drive
- Programs will open more slowly
- Video editing, gaming, and other intensive tasks might be frustrating
Think of portable Windows as a convenience solution, not a performance powerhouse.
Security Concerns
Because you’re carrying your entire Windows environment:
- If you lose the USB drive, someone could access your files
- Consider enabling BitLocker encryption on your portable Windows drive
- Use a strong password for your Windows account
Alternative: Tiny 11
If you’re finding performance too slow, there’s an interesting alternative called “Tiny 11.”
It’s an unofficial, stripped-down version of Windows 11 that runs much better on USB drives and low-powered hardware.
I’ve tested Tiny 11 on the same USB drive, and it boots about 40% faster than standard Windows 11.
However, since it’s unofficial, I can’t officially recommend it for important or sensitive work.
Final Thoughts
A portable Windows 11 USB isn’t perfect for everyone.
BUT, if you need your personal Windows environment on the go, it’s an incredibly powerful tool.
I’ve used mine for everything from rescuing files from unbootable computers to presenting at venues with outdated systems.
The best part?
You can keep refining and customizing it.
Add your favorite programs, tweak the settings just right, and soon you’ll have a personalized Windows you can take anywhere.
Have you tried creating a portable Windows before?
Did you run into any challenges I didn’t cover?
Or do you have a brilliant use case I haven’t thought of?
Drop me a comment below — I’d love to hear about your portable Windows adventures!
Now go forth and be productive… anywhere!