Make Your Old Laptop Run Like New
Last Updated:
Before you drop a thousand bucks on a shiny new laptop, WAIT.
There’s a much smarter approach that can save you hundreds and get you an even better machine – upgrading your current laptop!
I’ve been doing this for years and trust me, it makes a huge difference.
The Problem with New Laptops
Fact: Laptop manufacturers want you to think you need the latest and greatest.
But here’s the dirty secret…most people use their laptops for pretty basic stuff:
- Web browsing
- Streaming video
- Maybe some light photo editing or gaming
Guess what?
A machine that’s a few years old can handle all that just fine.
The latest processors and bleeding-edge features are overkill (and overpriced) for most users.
I’ve found that with a few strategic upgrades, you can make an older laptop run like new – for a fraction of the cost of buying one.
The two most impactful upgrades are maxing out the RAM and swapping in an SSD.
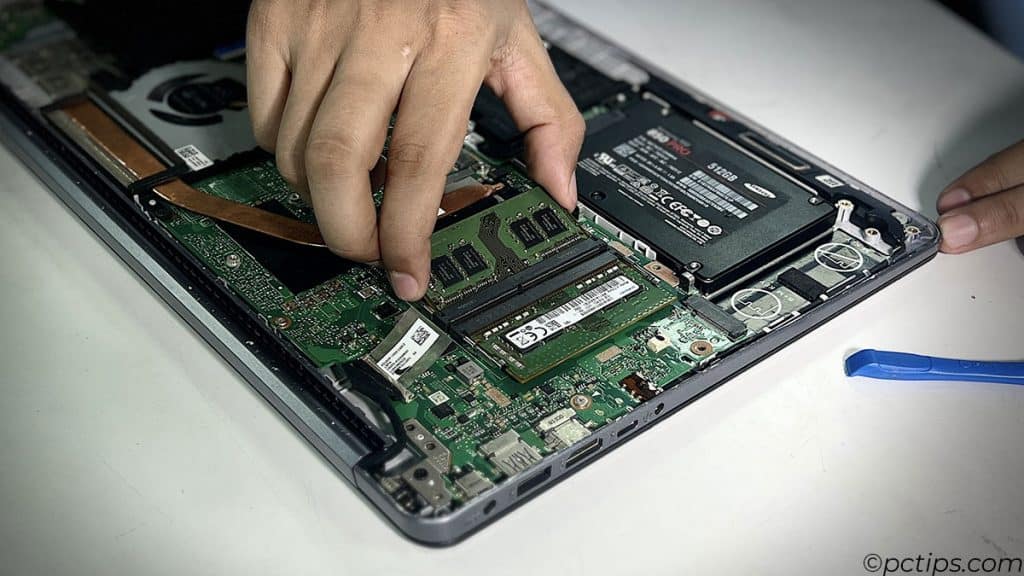
Backup Your Files
Before you do any upgrades, BACK UP YOUR FILES!
Grab an external drive, connect it, and drag your important folders over.
You do NOT want to lose precious photos, documents, or that novel you’ve been working on for years.
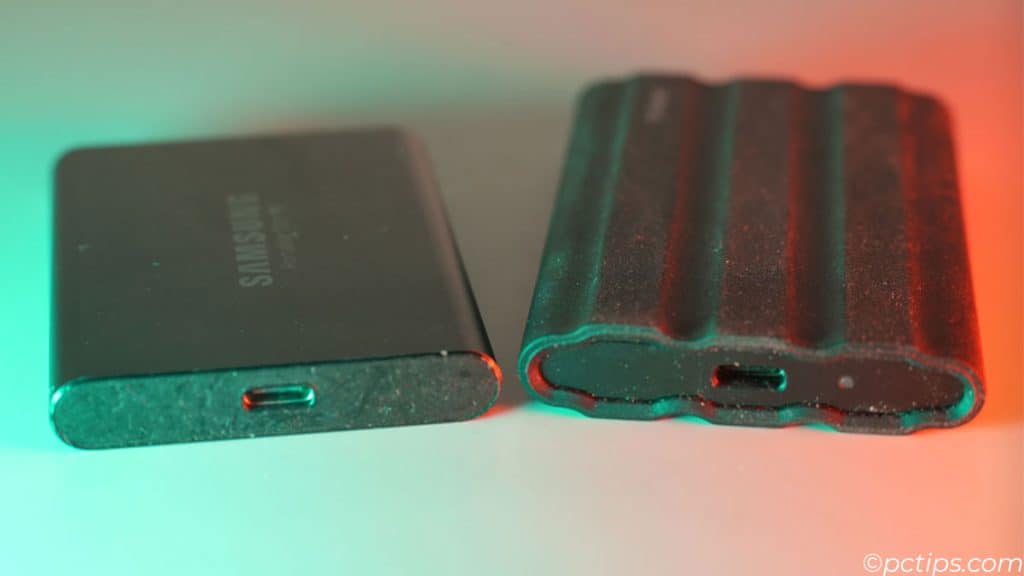
My top picks:
- SAMSUNG T7 Shield 4TB (rugged and spacious)
- SAMSUNG T9 Portable 4TB (blazing fast speeds)
Or if you prefer the cloud route, services like Google Drive, Dropbox, and OneDrive have your back(up).
Upgrade to an SSD
Ditch that old sluggish hard drive!
An SSD (Solid State Drive) makes everything faster – booting up, launching apps, loading files.
It’s like going from a bicycle to a Ferrari.
Here’s why SSDs are so much better than traditional hard drives:
- No moving parts, so they’re more durable and less prone to failure
- Faster read/write speeds (up to 10x faster!)
- Smaller and lighter than hard drives
- Silent operation and lower power consumption
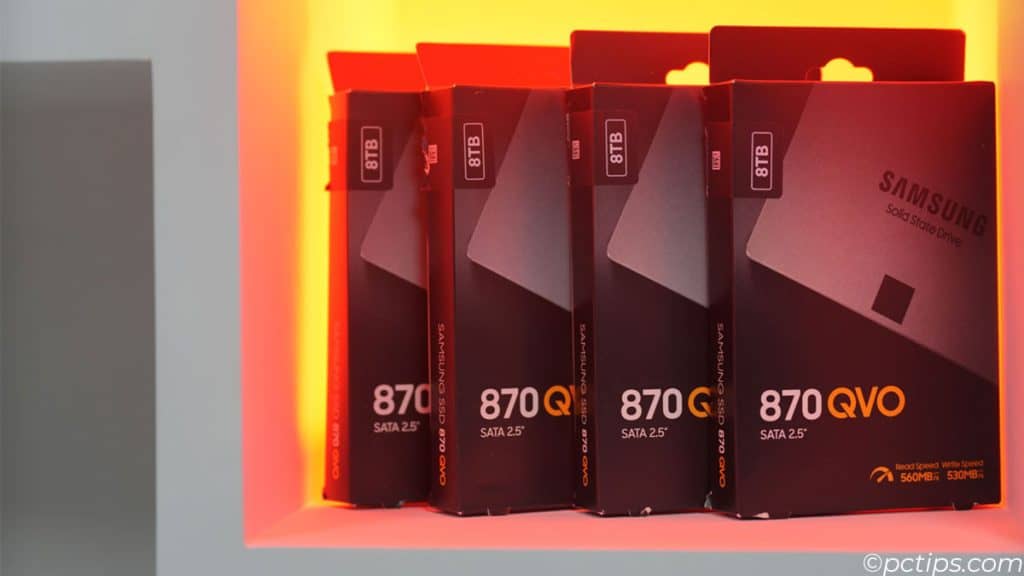
When shopping for an SSD, you’ve got two main form factors to consider:
- 2.5-inch SATA: This is the “standard” SSD size, similar to a traditional laptop hard drive. It connects via a SATA cable and a power cable. Most laptops from the last decade support this.
- M.2 NVMe: This is the newer, faster form factor. M.2 drives are tiny – about the size of a stick of gum. And NVMe drives offer blistering fast speeds, up to 5x faster than SATA SSDs! If your laptop supports it, this is the way to go.
Trust me, upgrading to an SSD is the single best way to rejuvenate an old laptop.
Max Out the RAM
RAM (Random Access Memory) is your laptop’s short-term memory.
More RAM allows your computer to run more programs simultaneously without slowing down.
Think of it like a desk: more RAM is like having a bigger desk that can hold more papers and projects.
Less RAM is like a tiny desk that gets overwhelmed with a couple of items.
Most older laptops come with a puny 2GB or 4GB of RAM, which doesn’t cut it these days.
For most modern uses, 8GB should be considered the minimum.
But if your laptop can support 16GB (or more), go for it!
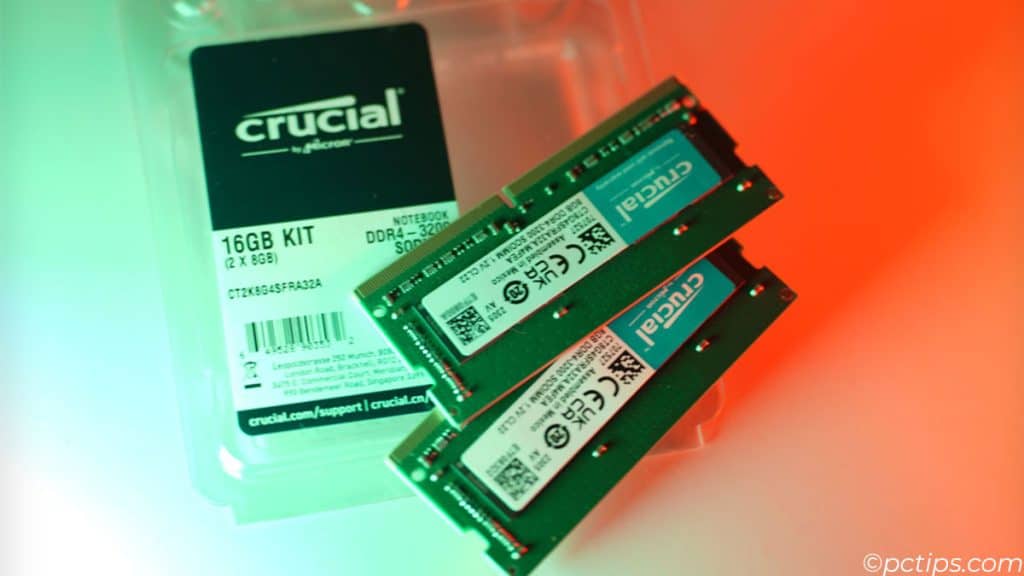
With ample RAM, you can:
- Keep dozens of browser tabs open without lag
- Run multiple demanding programs (like Photoshop) at once
- Future-proof your laptop for new, memory-hungry apps
Maxing out your RAM is one of the easiest and most cost-effective upgrades you can make.
And unlike an SSD upgrade, adding RAM doesn’t require you to migrate your data.
Get a Bigger Battery (Or Replace Your Old One)
If your laptop is constantly dying on you, it might be time for a new battery.
Over time, lithium-ion batteries lose their capacity to hold a charge.
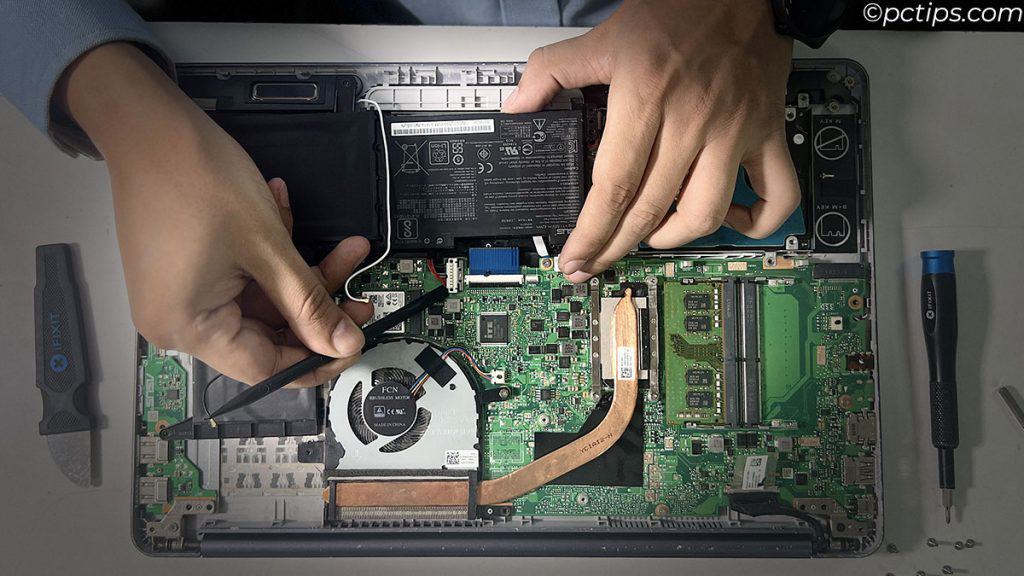
If you’re lucky, your laptop has a removable battery that you can easily swap out.
If not, you can still replace the battery, but it’s a bit more involved.
Again, I recommend searching for a disassembly video for your specific laptop model.
Or, if you’re always near an outlet, consider getting a bigger external battery pack.
I like the ones from Anker – they’re well-made and have enough juice to charge your laptop several times over.
How to Choose the Right Upgrades
Here’s my step-by-step process for picking the best bang-for-buck upgrades:
- Check how much RAM your laptop can support. (If you’re not sure, use this free tool). Get the maximum amount.
- I’m a big fan of Crucial’s DDR4 SODIMM modules – they’re affordable, reliable, and come with a lifetime warranty.
- For the SSD, aim for at least 500GB capacity. I’ve had great luck with Samsung EVO drives – they’re fast and reliable. Crucial MX500 is another solid pick.
- If you’re lucky enough to have an M.2 slot, I highly recommend going with an M.2 drive like the Crucial P3 500GB PCIe Gen3 SSD, which you can snag for under $47.
Tools You’ll Need (It’s Easy, Promise!)
Swapping these parts is surprisingly simple.
You’ll need:
- A small Phillips screwdriver
- A plastic spudger tool (optional but helpful)
- An anti-static wrist strap (to prevent zapping components with static electricity)
An iFixit Pro Tech Toolkit has all these tools and more. It’s the ultimate kit for electronics repair.
I’ve upgraded dozens of laptops and it usually takes me less than an hour, from start to finish.
If it’s your first time, budget 2 hours. Take your time, read the manuals, follow the instructions, and you’ll do great!
The hardest part is opening up the laptop to access the RAM slots.
My advice? TAKE PICTURES as you disassemble.
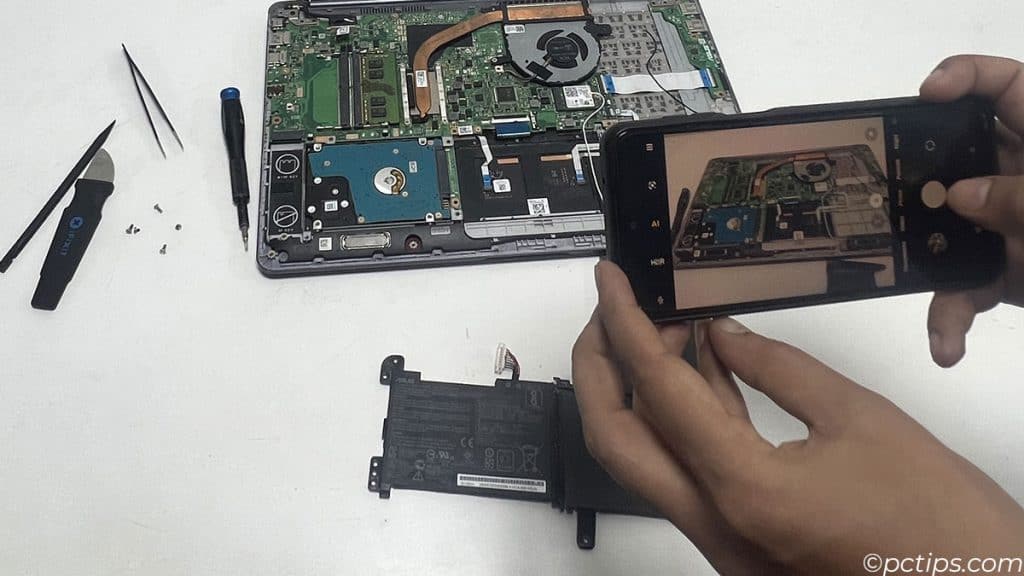
Snap a pic after each step so you know exactly where everything goes when it’s time to put it back together.
Better yet, search YouTube for “RAM/SSD upgrade [your laptop model]” and I bet you’ll find a step-by-step video.
It’s usually pretty simple – a few screws, pop off the bottom panel, swap the RAM sticks, and you’re good to go.
Clean It Inside and Out
Over time, dust and grime build up inside your laptop, clogging fans and causing overheating.
While you’ve got the case open to do upgrades, use a can of compressed air to gently blow out all that gunk.
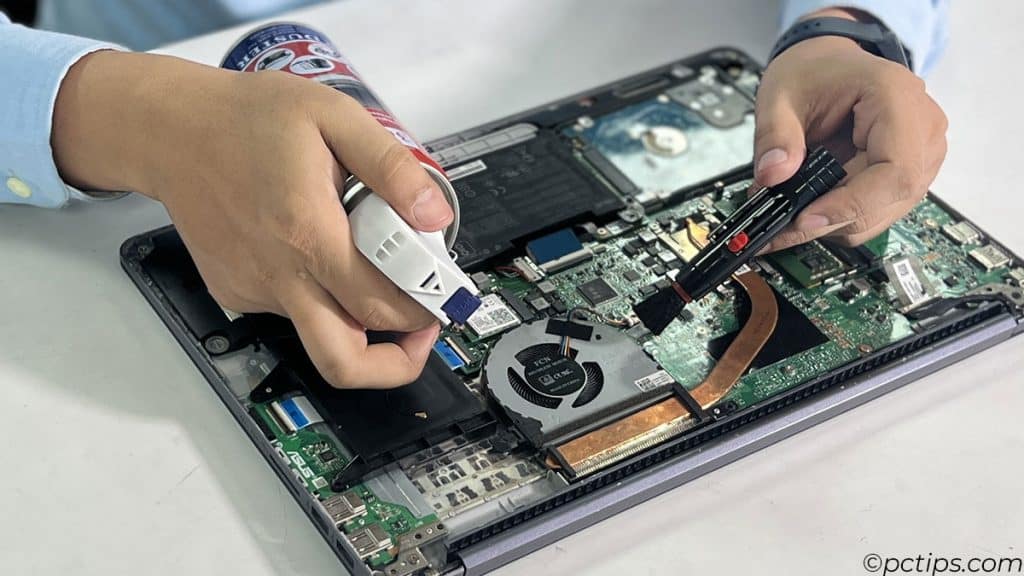
Then grab a microfiber cloth and some rubbing alcohol.
Give the case, keyboard, and screen a thorough wipe-down.
Your machine will look (and smell) brand new!
Real-World Results
So what kind of speed boost can you expect?
Here’s the before-and-after on my 6-year-old Asus Vivobook:
| Spec | Before | After |
| RAM | 8GB | 16GB |
| Storage | 1 TB HDD | 500GB SSD |
| Boot time | 53 sec | 15 sec |
| Battery life | 3 hours | 6 hours |
I spent about $150 total on the upgrades.
For a laptop that originally cost me $800, I basically got a brand-new machine for less than 20% of the cost of replacing it!
The Payoff
Upgrading your trusty laptop instead of replacing it has some serious advantages:
- Save hundreds of dollars
- Reduce e-waste by extending your device’s usable life
- Avoid the headache of migrating all your data and settings to a new machine
- Get a serious speed boost and battery life improvement – it’ll feel like a new laptop!
Do a Clean OS Install
If your laptop is more than a couple of years old, chances are the OS has gotten bogged down with junk files and outdated software.
One of the best ways to give your laptop a fresh start is by wiping the drive and reinstalling the operating system from scratch.
Once you’ve backed up your files, I highly recommend doing a fresh install of Windows (or macOS, or Linux, you do you).
First, create a bootable USB drive with the OS installer.
Then, plug it in and press the boot key (usually F12 or Del) to select the USB drive.
From there, follow the prompts to install the OS.
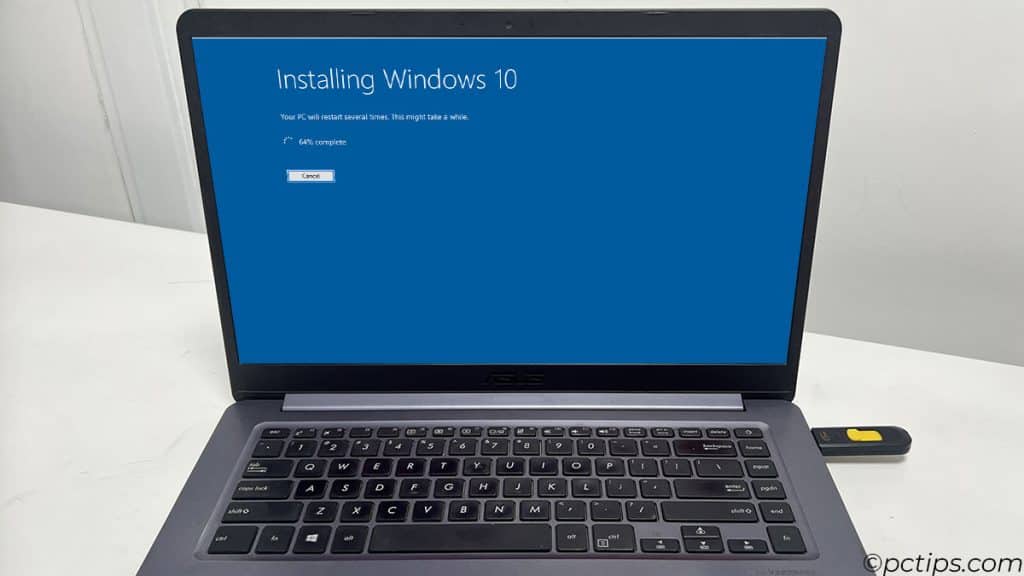
It’s a bit of a process, but trust me, it’s worth it. Your laptop will feel like new again.
Don’t forget to Install the latest drivers for your laptop model from the manufacturer’s support site.
Use a Lightweight Linux Distro
If you’ve got an ancient laptop that’s barely hanging on, it might be time to ditch Windows entirely and switch to Linux.
Yeah, I know, Linux can seem intimidating for newcomers.
But there are tons of beginner-friendly “distros” (that’s Linux-speak for versions) that are perfect for breathing new life into old hardware.
Some of my favorites for laptop resurrection:
- Lubuntu: A lightweight spin of the popular Ubuntu distro. Fast, simple, and easy on resources.
- Puppy Linux: Don’t let the cutesy name fool you – this is a serious contender for making old laptops feel snappy again. The entire OS loads into RAM on boot for blazing performance.
- Linux Mint Xfce Edition: All the user-friendliness of Linux Mint’s flagship distro, but with the lean and mean Xfce desktop environment.
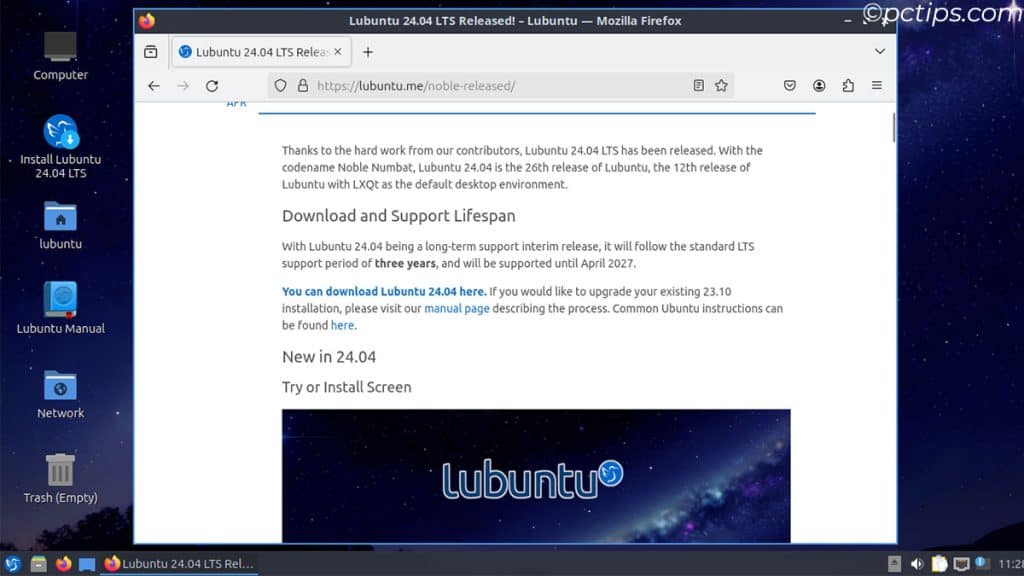
Okay, there is a bit of a learning curve with Linux.
But hey, it’s free, endlessly customizable, and rock-solid stable.
Plus, it’s a great opportunity to learn some new skills. Bust out that geeky side!
Repurpose Your Old Laptop
If all else fails and your laptop is truly on its last legs, don’t toss it in the trash yet!
There are plenty of ways to repurpose and give it a second life.
A few of my favorites:
- Turn it into a NAS (network-attached storage) device with FreeNAS or OpenMediaVault. Instant home file server!
- Set up a media server and stream your video collection with Jellyfin or Plex.
- Use it as a backup device or a loaner laptop for guests.
- Convert it into a retro gaming machine with EmulationStation or Lakka.
- Transform it into a kitchen PC for recipes, timers, and streaming cooking videos.
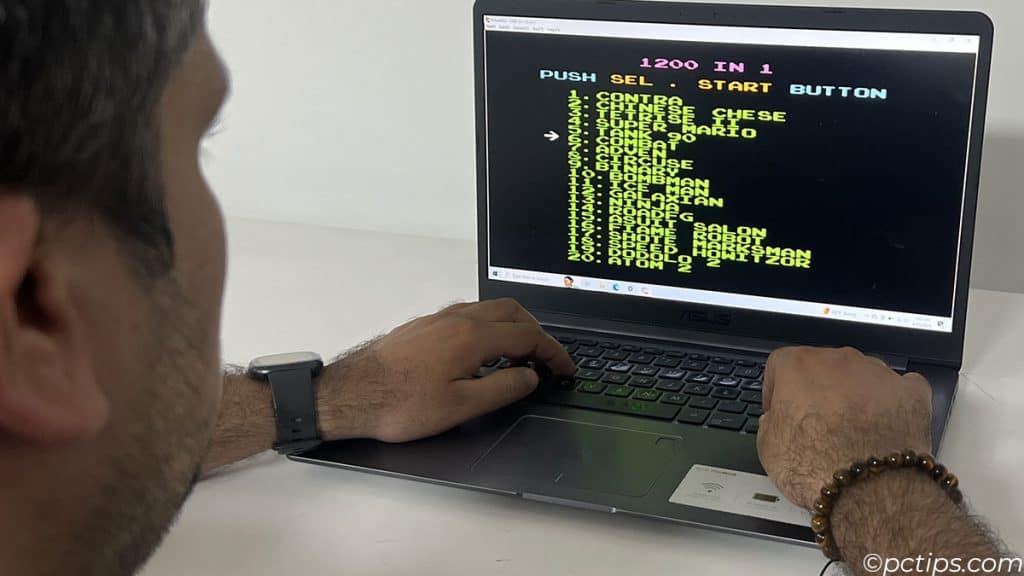
Really, the possibilities are endless.
If you’re looking for more inspiration, check out my article on 15 Brilliant Ways to Repurpose an Old Laptop.
Expand Your Ports with a USB Hub
One area where laptops show their age is ports.
Older models never seem to have enough USB ports, and they’re usually USB 2.0 instead of the much faster USB 3.0.
Sidestep that limitation with a nice USB hub.
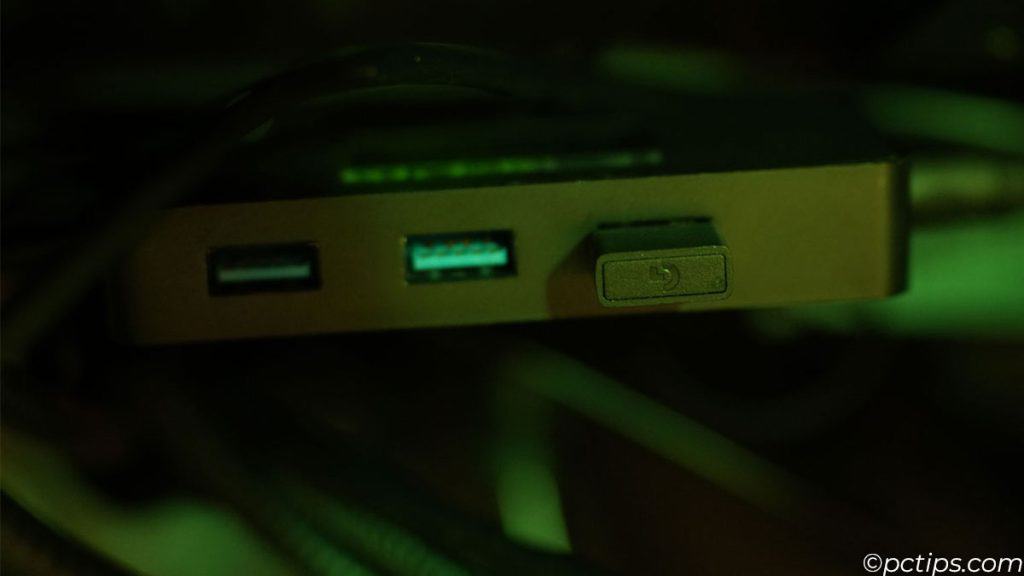
I recommend getting a hub with a mix of USB-A and USB-C ports, as well as an HDMI port for connecting an external monitor.
The Anker PowerExpand+ 7-in-1 USB C Hub is a solid choice.
It’s compact, it’s reliable, and it has all the ports you could ever need.
Plus, it supports pass-through charging, so you can charge your laptop while using the hub.
Replace the Wi-Fi Card
Some older laptops have terrible Wi-Fi reception, especially if they use an outdated wireless standard like 802.11g or 802.11n.
Upgrading to a modern 802.11ac or 802.11ax Wi-Fi card will give you better speed and range.
It’s a finicky upgrade, but worthwhile.
Make sure you get a card that’s compatible with your specific laptop model!
If the card is soldered onto the motherboard, you can still use a USB Wi-Fi adapter:
- For a budget-friendly option, check out the TP-Link Nano USB WiFi Adapter for PC
- For top-of-the-line performance, go for the NETGEAR Nighthawk WiFi 6 or 6E adapter
Replace the Thermal Paste
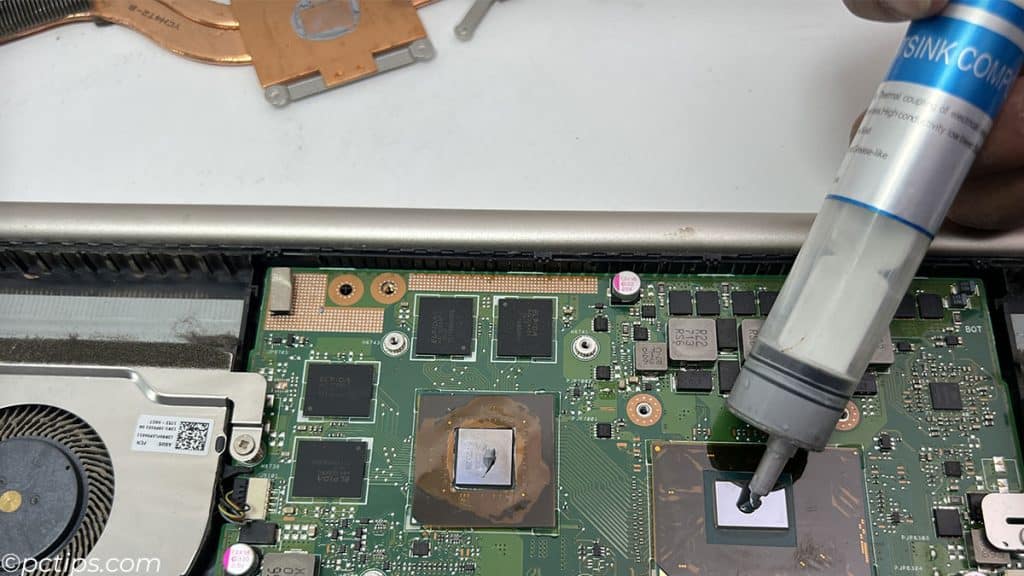
If you’ve had your laptop for a few years, the thermal paste between the CPU and the heatsink has likely degraded.
This can lead to overheating, slowdowns, and loud fan noise.
Replacing the paste is a bit of a delicate operation, but it can lower operating temperatures by 10°C or more.
Your laptop will run cooler and quieter.
Perform a BIOS/UEFI Update
Manufacturers sometimes release updates to a laptop’s BIOS or UEFI firmware that improve performance, fix bugs, and add new features.
It’s worth checking if there are any updates available for your particular model.
The update process is automated these days, but read the instructions carefully – a botched BIOS update can brick your machine!
Replace the Laptop Feet
The little rubber feet on the bottom of your laptop tend to fall off after a few years.
This might not seem like a big deal, but it can actually cause some serious problems.
Without proper feet, your laptop won’t have adequate airflow underneath, leading to overheating and reduced performance.
Plus, it’ll slide around annoyingly on smooth surfaces.
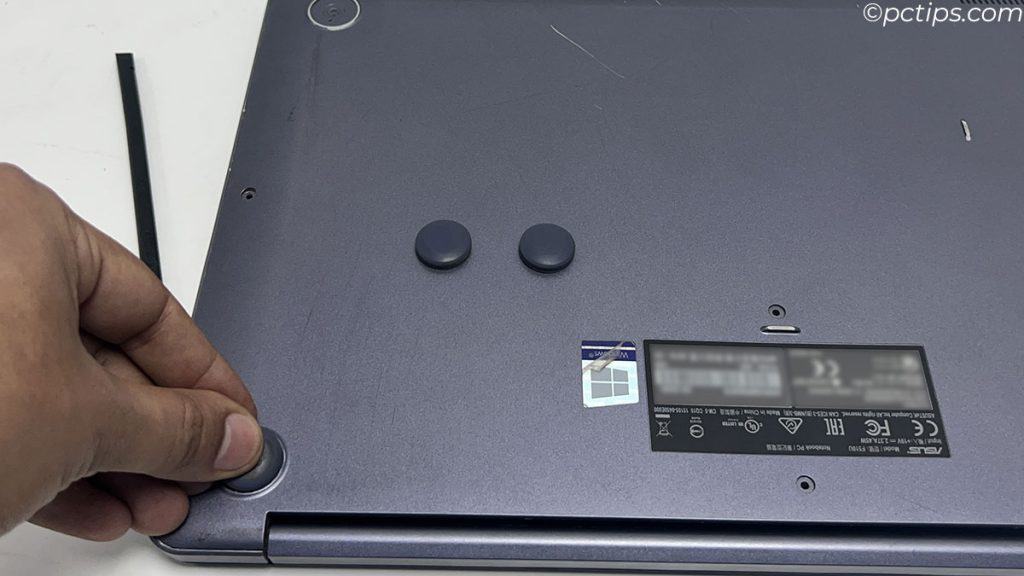
Luckily, replacement feet are cheap and easy to find.
Search for your laptop model + “feet” on Amazon or eBay.
Stick ’em on and enjoy your newly stable, well-ventilated machine.
Pro tip: If you can’t find an exact match, look for universal laptop feet in the right size range.
A little trial and error can yield great results!
Untangle Your Power Cord
A tangled mess of a power cord can lead to all sorts of headaches – from accidentally yanking your laptop off the table (been there, done that) to damaging the cord itself.
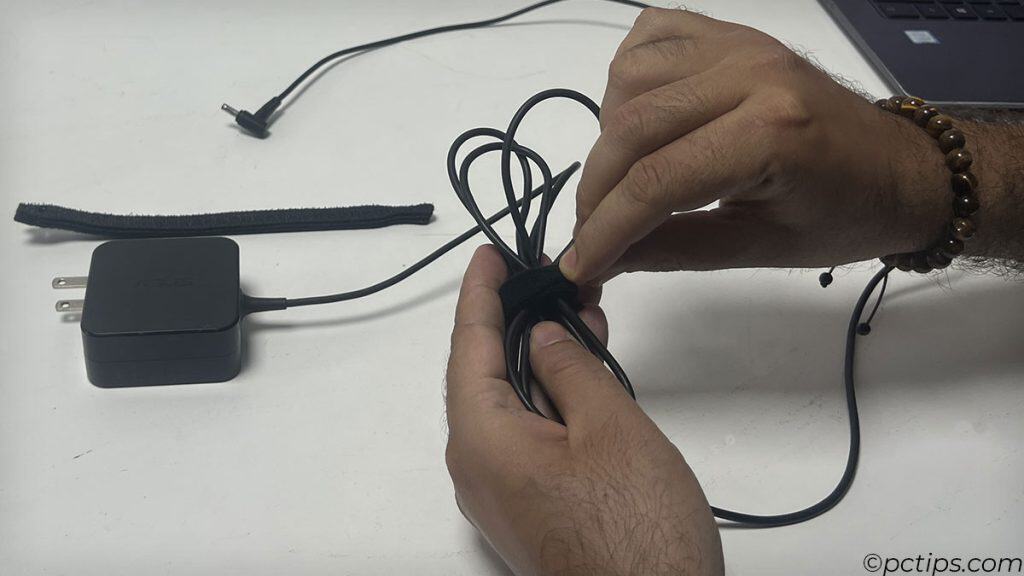
Take a few minutes to untangle that Gordian knot of a power cord.
Unplug it from the wall and your laptop, then gently work out the kinks and coils.
For extra credit, use some cable ties or Velcro straps to keep it neatly bundled in the future.
If you spot any fraying or exposed wires, don’t mess around – replace that cord ASAP.
You can usually find third-party replacements for a lot less than the overpriced OEM versions.
Make sure it has the right wattage and plug type for your laptop.
Give It Some External Bling
Who says laptops have to be boring? Give yours some personality with external bling!
I’m a big fan of vinyl skins.
They’re easy to apply, they protect your laptop from scratches, and they come in a dizzying array of designs.
Want your laptop to look like a retro gaming console? There’s a skin for that.
Want it to match your favorite sports team? Yep, that too.
The folks at dbrand make some of the best skins in the biz, with precision-cut designs and top-notch materials.
If skins aren’t your thing, consider a laptop case or sleeve.
These offer protection for your laptop when you’re on the go, and they come in a variety of styles to suit your taste.
The Incase Icon Sleeve is a sleek and stylish option, with a faux-fur lining that keeps your laptop cozy and protected.
Embrace the Limitations
At the end of the day, no amount of tweaking and upgrading can turn a clunky old laptop into a shiny new ultrabook.
There’s only so much blood you can squeeze from a turnip, ya know?
But that doesn’t mean your aging system is useless!
Instead of fighting against your laptop’s limitations, try embracing them.
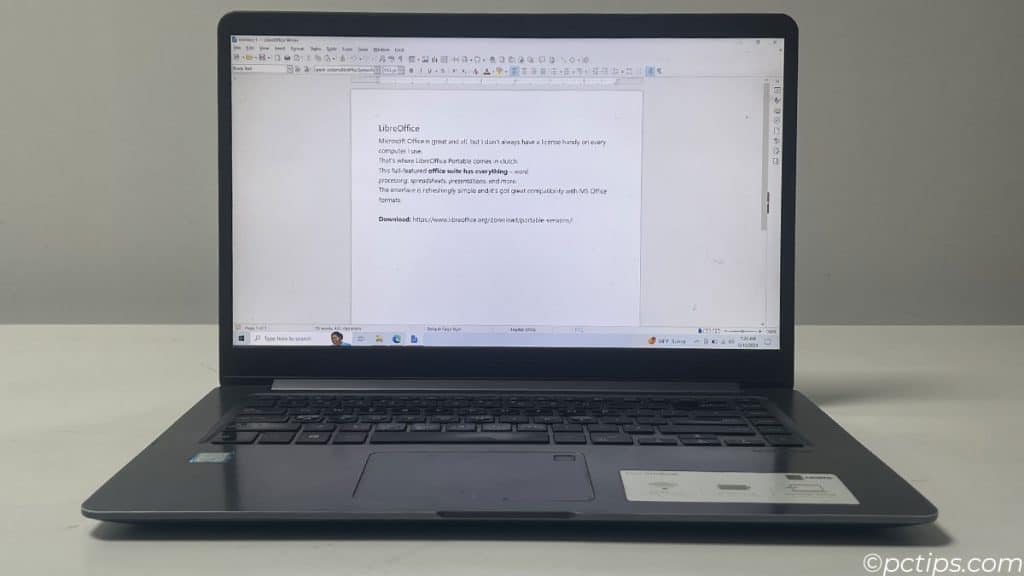
Use lightweight software that’s designed for older hardware – think LibreOffice instead of Word, or PAINT.net instead of Photoshop.
Stick to basic tasks like web browsing, email, and streaming.
Over to You
Upgrading an old laptop can be a fun and rewarding project, but it’s not always the right choice for everyone.
If your laptop is truly ancient or damaged beyond repair, it might be time to bite the bullet and invest in a new one.
But if your machine is still relatively spry and you’re willing to put in a bit of time and effort, these upgrades can help you squeeze a few more years out of it.
if you found this article helpful, I’d be tickled pink if you could give it a share on your favorite social media platform.
I am doing this now with an HP laptop I retired about two years ago - to make it into my travel laptop. - Thank you, Binod, for the inspiration to make this happen.
Thank you for an excellent article. I have an older dell laptop that the keyboard is not practically replaceable as i would have to completely dissemble it completely ; the next model up it just snaps out i have expensive software in it can i take the ssd hard drive to another one model newer with that licensed software on it? Thanking you in advance for any reply DocHank
Absolutely fantastic.
Very informative!
Hi DocHank, In most cases, your software licenses should remain valid when moving the SSD to a new laptop. As long as the licenses are tied to the drive itself and not the specific hardware, you should be good to go. However, some software may be pickier about major hardware changes. Some programs might fuss about the new motherboard or CPU and demand to be reactivated. Check the licensing terms of your expensive software. You may need to deactivate the license on the old laptop and reactivate it on the new one. If the software uses a hardware-based license, reach out to the vendor for help transferring the license to your new machine. Please note if the software is really important to your work it's definitely better to play it safe. If you have the original license keys and installer files for your expensive software, try doing a fresh install on your new laptop first. Don't even mess with swapping hardware or copying files yet. Just run that installer, punch in your license key, and see if it activates cleanly.