How to Boot Your Computer Faster
Last Updated:
Let’s see how long your PC is actually taking to boot.
You might be surprised!
To check your boot time in Windows 10 or 11:
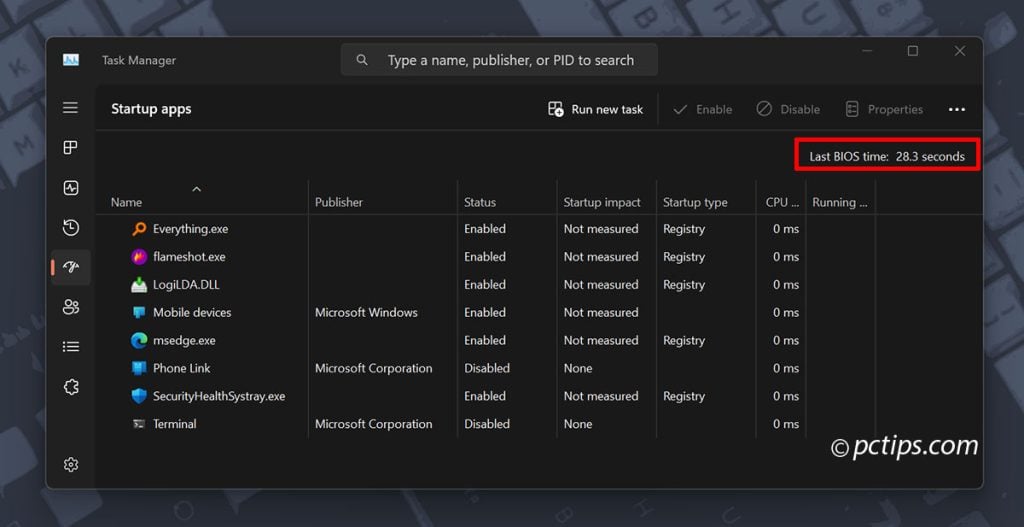
- Open the Task Manager (Press Ctrl+Shift+Esc)
- Click on the “Startup” tab
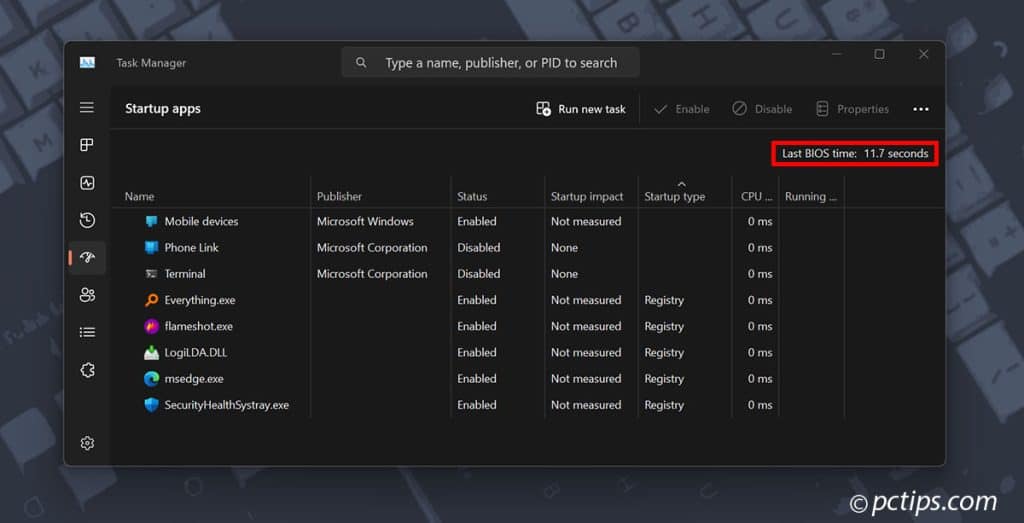
- Look for “Last BIOS time” in the top right corner
This tells you how long your BIOS (Basic Input/Output System) takes to initialize before Windows starts loading.
Take note of this number.
You can also manually time your boot process with a stopwatch app on your phone.
Start the timer when you hit the power button, and stop it when you reach the Windows login screen.
If it’s anything over 15-20 seconds, your computer is taking longer than average to start up.
This is my main system that I’m using for this guide with the following specs:
- Motherboard: ASUS ROG Zenith II Extreme
- Processor: AMD Threadripper 3990X (64 cores, 128 threads)
- RAM: 256GB
The initial BIOS time was a 28.3 seconds.
But after implementing the steps I outline below, I managed to bring it down to just 11.7 seconds!
Let’s see how!
Dissecting the Boot Process
To really understand how to speed up your boot time, it helps to know what’s actually happening under the hood.
The boot process can be broken down into a few key stages:
- Power On Self Test (POST): This is where your BIOS checks that all your hardware is working properly before handing off to the operating system.
- Boot Device Selection: Your BIOS looks for a bootable device (usually your hard drive) to load the operating system from.
- Bootloader: A small program that loads the operating system kernel into memory.
- Kernel Initialization: The kernel (the core of the operating system) initializes and starts loading device drivers and other system services.
- User Space Initialization: This is where your startup programs and services are launched, bringing you to the login screen or desktop.
Each of these stages can contribute to a slow boot time – so let’s look at some ways to optimize them!
Upgrade to an SSD
Before ANYTHING else, if you’re still rocking a traditional hard disk drive (HDD), upgrading to a solid-state drive (SSD) is hands-down the BEST way to speed up your boot time.
SSDs use flash memory instead of spinning disks, which means near-instant access times and blazing-fast read/write speeds.
In my own testing, here’s how long it took to fully load Windows on different drive types:
- 7200RPM HDD: 54 seconds
- SATA SSD: 12 seconds
- NVMe SSD: 11 seconds

For the ultimate in performance, go with an NVMe SSD.
But even a SATA SSD will make a world of difference.
Also Read: How Much Longer Will Your SSD Last? Find Out Now
If you don’t plan to switch to an SSD yet, and you’re still using an HDD, make sure to defragment it regularly.
Here’s how:
- Open File Explorer
- Right-click on your boot drive > Properties > Tools > Optimize
Keep in mind that this process can take some time – mine took over 4 hours!
But the results are worth it.
On my test laptop (ASUS VivoBook X510UAR), defragmenting reduced boot time from 48 seconds to 23 seconds—a 53% improvement!
For SSDs, defragmentation isn’t necessary since there are no moving parts.
Instead, Windows automatically runs TRIM on SSDs to keep them performing optimally.
Enable Fast Boot in the BIOS
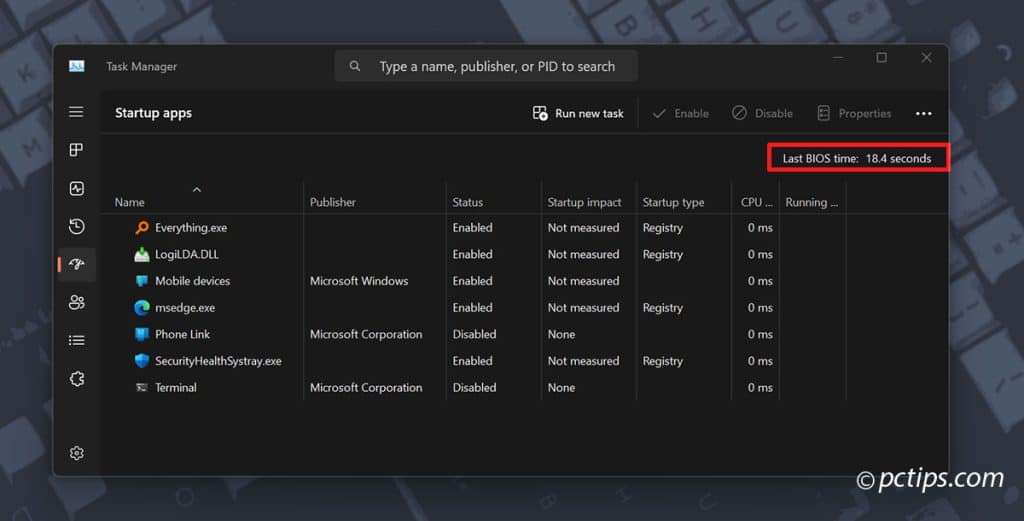
On my Threadripper system (mentioned earlier), enabling Fast Boot in the BIOS reduced the boot time from 28.3 seconds to 18.4 seconds.
If you have a newer system, you might be able to enable a feature called Fast Boot (sometimes Ultra Fast Boot).
Fast Boot works by skipping some of the hardware initialization and testing that normally happens during the POST stage.
The catch is that it can cause issues with some hardware configurations, like not detecting boot drives (which has happened to me a few times on my Ryzen 1700 system).
If something like that happens to you, you may need to disable Fast Boot.
To enable Fast Boot, you’ll need to dive into your BIOS settings.
The exact process varies by motherboard, but generally:
- Restart your computer and press the key to enter BIOS (usually Del, F2, or F10)
- Navigate to the “Boot” tab
- Look for “Fast Boot” or similar options and enable them
- Save and exit

Note that enabling Fast Boot may prevent you from being able to access your BIOS easily in the future.
If you need to get back in, you may need to reset your BIOS or use the “BIOS Setup” option in Windows advanced startup.
Check Your Boot Order
While you’re in your BIOS, take a moment to check your boot order.
Your boot drive should be first in the list.
If it’s not, your system is wasting time checking other drives for bootable operating systems before getting to the real deal.
To change your boot order:
- Enter the BIOS and look for the “Boot Order” option
- Move your primary boot device (usually your SSD or HDD) to the top of the list
- Remove any devices you don’t need to boot from (e.g., CD/DVD drive, network boot)
By cutting out unnecessary device checks, you can shave precious seconds off your boot time.
RAM Considerations
The amount, speed, and timings of your RAM can also impact boot time.
If you’re still running 4GB or less, consider upgrading to at least 8GB.
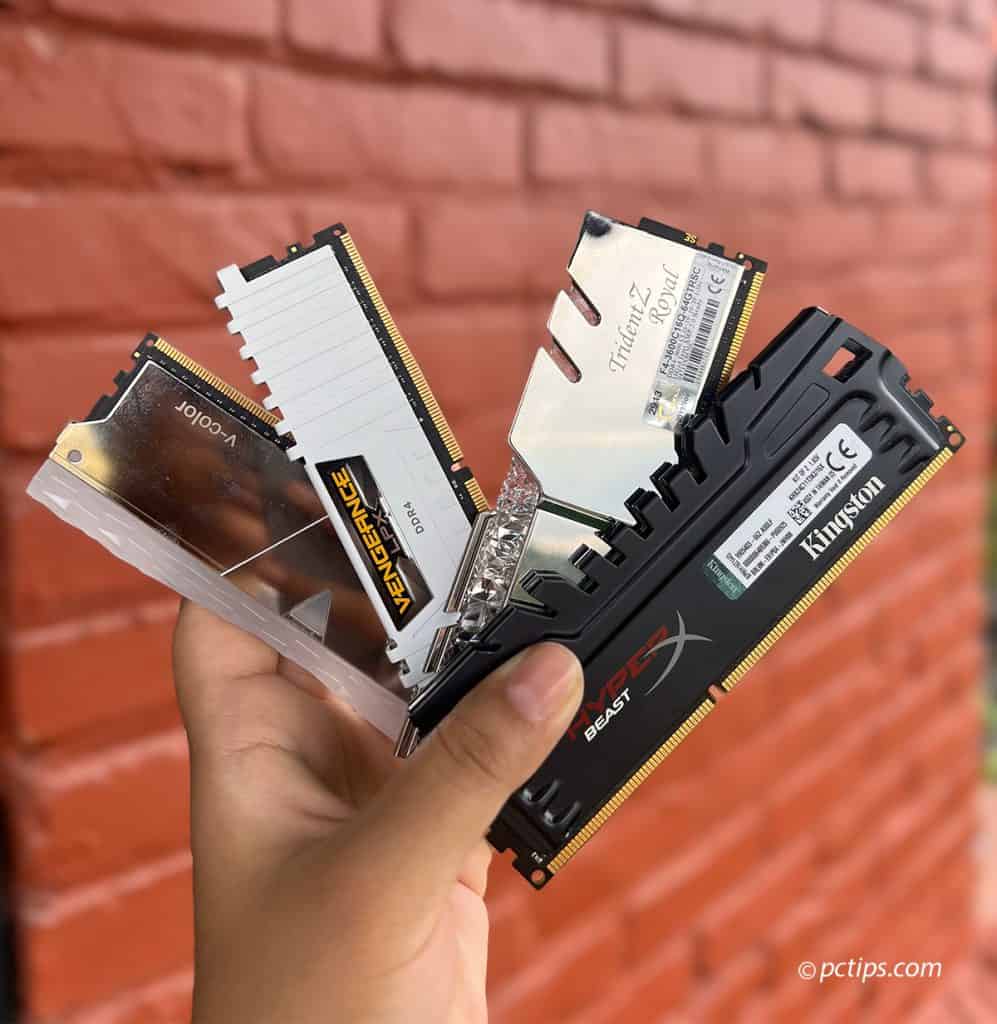
In general, faster RAM (higher MHz) will slightly improve boot times.
But timings and latency also play a role.
Lower CAS latency (CL) and tighter timings can improve performance.
For most users though, the impact will be minimal compared to other factors like SSD vs HDD or startup programs.
Disable Overclocking and Memory Profiles
If you’ve tinkered with BIOS settings to overclock your CPU or RAM e.g., enabling XMP (Intel) or DOCP (AMD), those settings could be adding unnecessary time to the boot process.
When you overclock your CPU or RAM, your motherboard has to do additional checks and initialization steps to make sure everything is stable.
This takes time!
Unless you’re a hardcore enthusiast who needs every ounce of performance, I recommend disabling any overclocking settings for faster and more stable boot times.
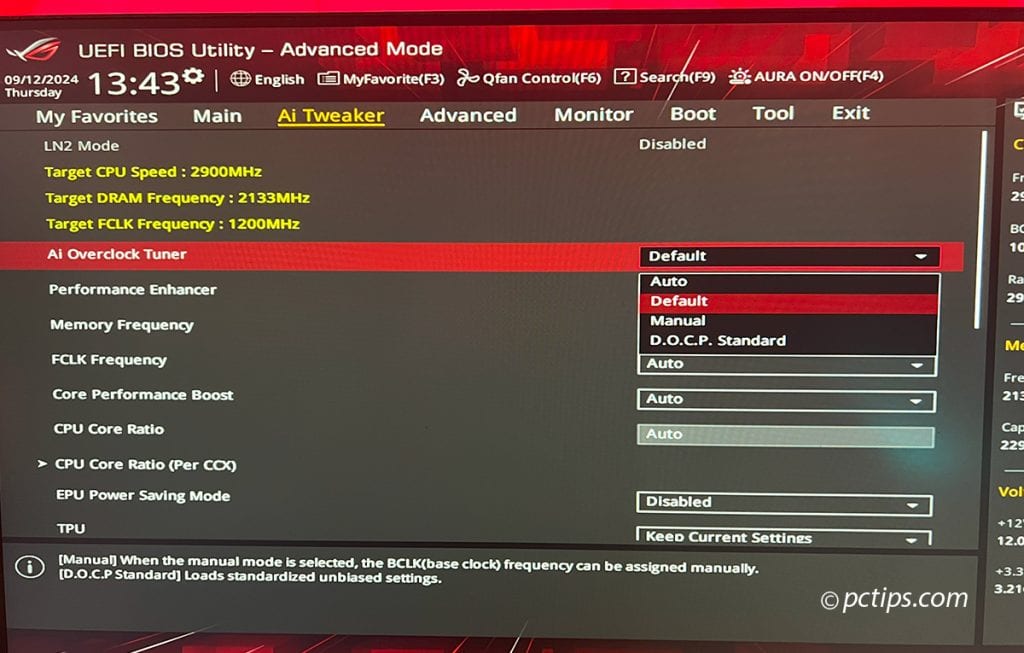
After disabling DOCP on my system, the boot time dropped further from 18.4 seconds to 11.7 seconds.
Keep in mind that the more RAM you have, the longer the memory training process takes.
My system has a hefty 256GB of RAM, which partly explains the longer BIOS times.
Check for Failing Hardware
Sometimes, slow boot times aren’t a software issue at all—they could be caused by failing hardware.
If you suspect a hardware problem, here are some things to check:
- Make sure your RAM is seated properly and not failing (run memtest86)
- If your HDD is on its last legs, it can take forever to read boot files. Check for strange noises or excessive vibration
- Ensure your CPU heatsink is properly mounted and the CPU isn’t overheating
- Reseat any add-in cards (graphics card, sound card, etc.) to ensure good contact
If you suspect failing hardware, it’s best to replace the affected component as soon as possible.
Disconnect Unnecessary Peripherals
A few years back, I was working on a mid-range build that was taking longer than expected to boot.
Simply disconnecting the keyboard and USB devices decreased the boot time by 20-30 seconds!
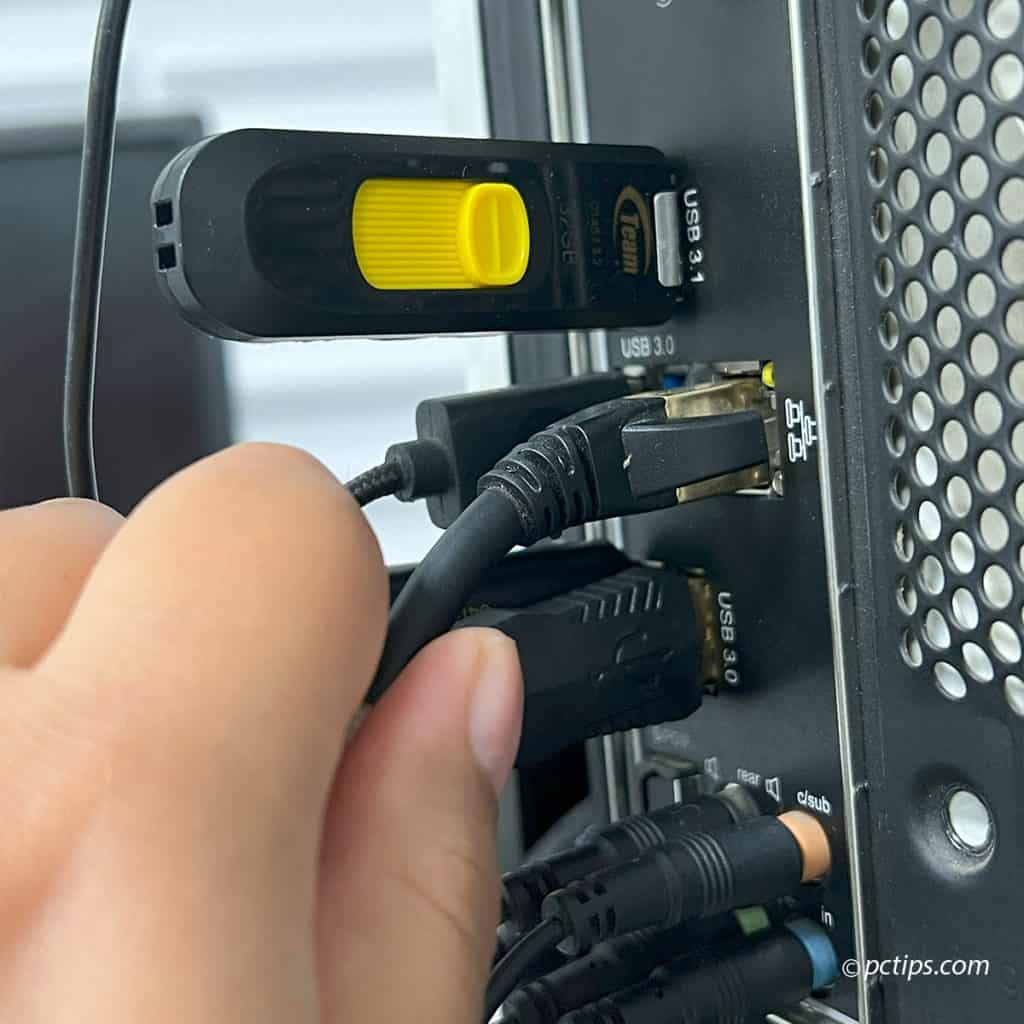
If you have a lot of peripherals plugged into your computer (printers, scanners, game controllers, etc.), they ALL have to initialize at every boot.
And if even ONE of those devices is slow or unresponsive, it can hang up your entire boot process.
I’ve seen systems take MINUTES to get past the BIOS screen because of a misbehaving USB device.
My advice? Unplug anything you don’t absolutely need.
Suggested Reading:
Update Your Drivers and BIOS
When it comes to drivers and BIOS updates, my philosophy is: “If it ain’t broke, don’t fix it”.
Updating to the latest drivers and BIOS versions can sometimes improve stability, performance, and boot times.
But it can also introduce new bugs and compatibility issues.
I recommend updating if:
- You’re experiencing specific issues that the update fixes
- You need support for newer hardware or features
- You REALLY need that extra ounce of performance
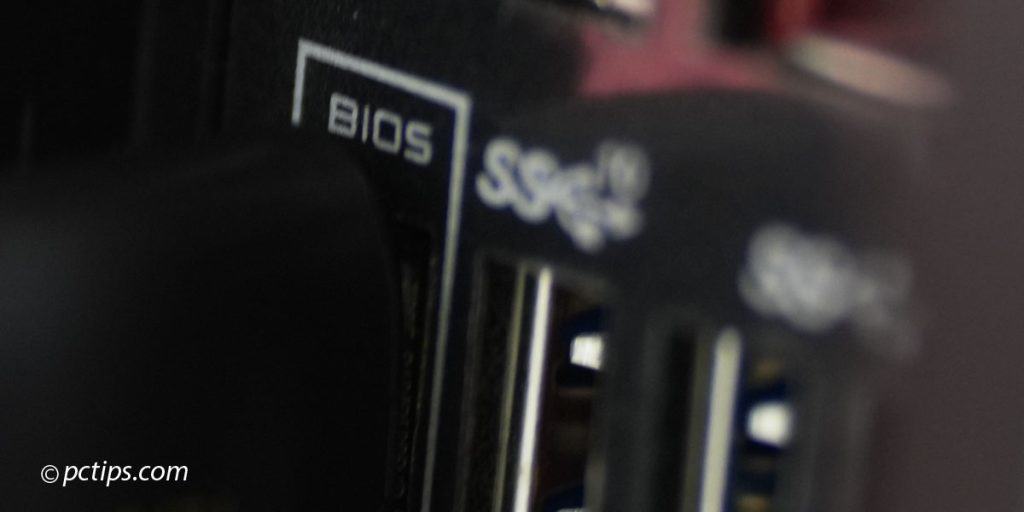
But be CAREFUL when updating your BIOS.
A failed or interrupted BIOS update can brick your motherboard!
Don’t update unless you have a stable power supply, and NEVER interrupt the process.
Disable Unnecessary Startup Apps and Services
Now we’re getting into the MEAT of the optimization process.
Up until now, we were mostly talking about BIOS time.
But what about once Windows starts loading?
Refer back to what we said about the boot process – the “User Space Initialization” is where your startup programs load.
And it’s one of the biggest culprits affecting Windows’ full load time.
When you have too many programs set to automatically start with Windows, every single one of those programs has to load into memory and initialize BEFORE you can start using your computer.
To see which programs are slowing you down:
- Open the Task Manager (Ctrl+Shift+Esc)
- Click on the “Startup” tab
- For each program, check the “Startup impact” column
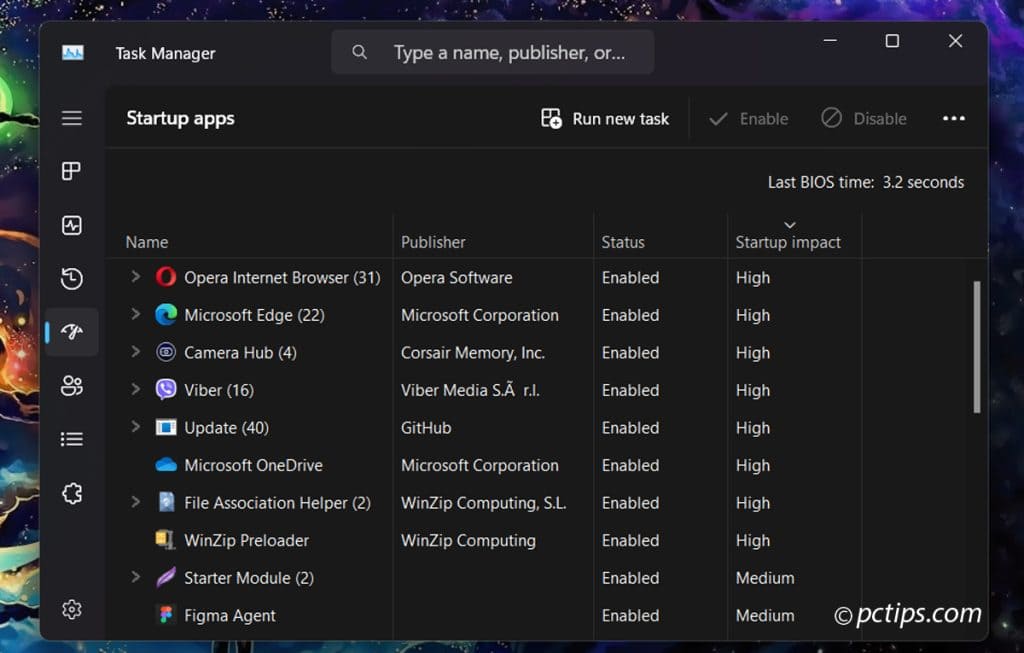
If you don’t use a program every day and don’t need it to start with Windows, turn it off.
The same goes for background services. To adjust your startup services:
- Open the Start menu and search for “Services“
- For each service, double-click it and set the “Startup type” to “Manual” or “Disabled“
I recommend setting most services to “Automatic (Delayed Start)” if available.
This means the service will still start automatically, but only after the system has finished booting, so it won’t impact boot time.
Be CAREFUL when disabling services—only disable those you’re sure you don’t need, as disabling critical services can cause system instability.
Try Fast Startup in Windows
In addition to Fast Boot in the BIOS, there’s also a Windows feature called “Fast Startup“.
This is enabled by default on most systems, but it’s worth double-checking.
Fast Startup is kind of like a hybrid between hibernation and a full shutdown.
When you click “Shut Down” with Fast Startup enabled, Windows saves a snapshot of your system state to a special file called hiberfil.sys.
When you boot up again, Windows loads this file instead of initializing everything from scratch.
In theory, this should dramatically reduce your boot time.
However, I’ve also seen Fast Startup lead to slower boot times and other issues on some systems.
If your boot time is extremely slow even with Fast Startup enabled, try disabling it.
Check for Malware
Malware infections can slow down your entire system, including boot time.
Some particularly sneaky malware can even inject itself into the boot process, loading hidden crypto miners or other nasty surprises.
To check, run a full system scan with your antivirus of choice.
For most users, the built-in Microsoft Defender does a decent job.
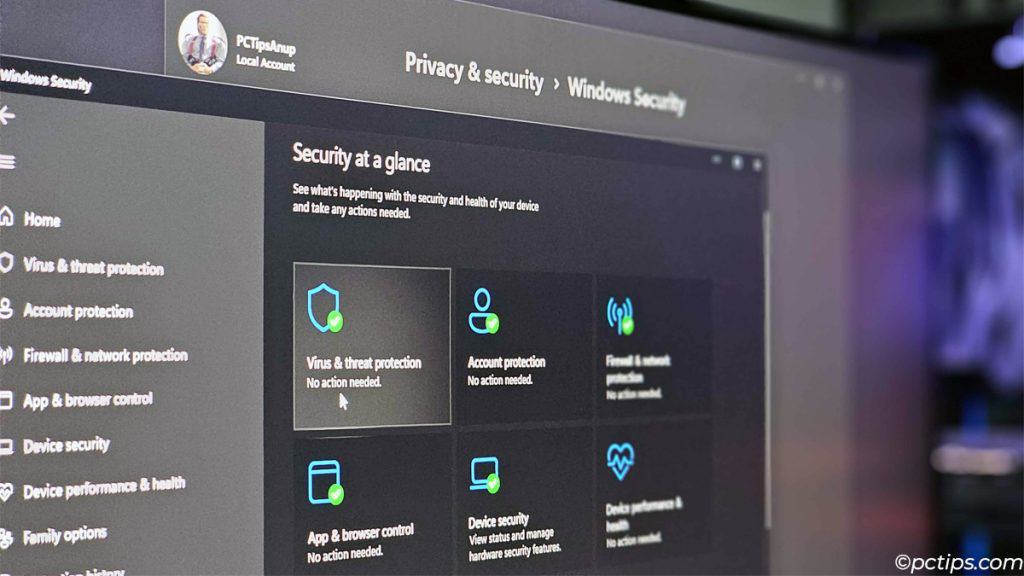
You can access it by searching for “Virus & threat protection” in the Start menu.
If you suspect a particularly nasty infection, you can also try booting into Safe Mode.
This loads only the bare minimum of drivers and services, making it easier to isolate and remove malware.
Consider a Fresh Windows Install
If you’ve tried all the above tips and your boot times are still slow, it might be time for a fresh start.

Performing a clean install of Windows can remove accumulated cruft and give you a clean slate to work with.
Before reinstalling, make sure to back up your important files and documents.
You’ll need to reinstall your applications after the clean install, so have your product keys and installation files handy.
Suggested Reading: Fastest Way to Create a Bootable USB
Leave Your Computer Turned On
Finally, if you really want to minimize your boot times… don’t shut down your computer at all!
Modern systems are designed to efficiently handle long uptimes, and by avoiding the boot process altogether, you can save yourself time and hassle.
Of course, if you won’t be using your computer for an extended period (say, overnight), it’s still a good idea to shut it down or put it in sleep mode to save energy.
Did you try any of these methods? Share your experiences in the comments below!
And if you found this guide helpful, give it a share or a bookmark.